Emirp Diortem
Game Design / Level Design / Scripting
About the Game
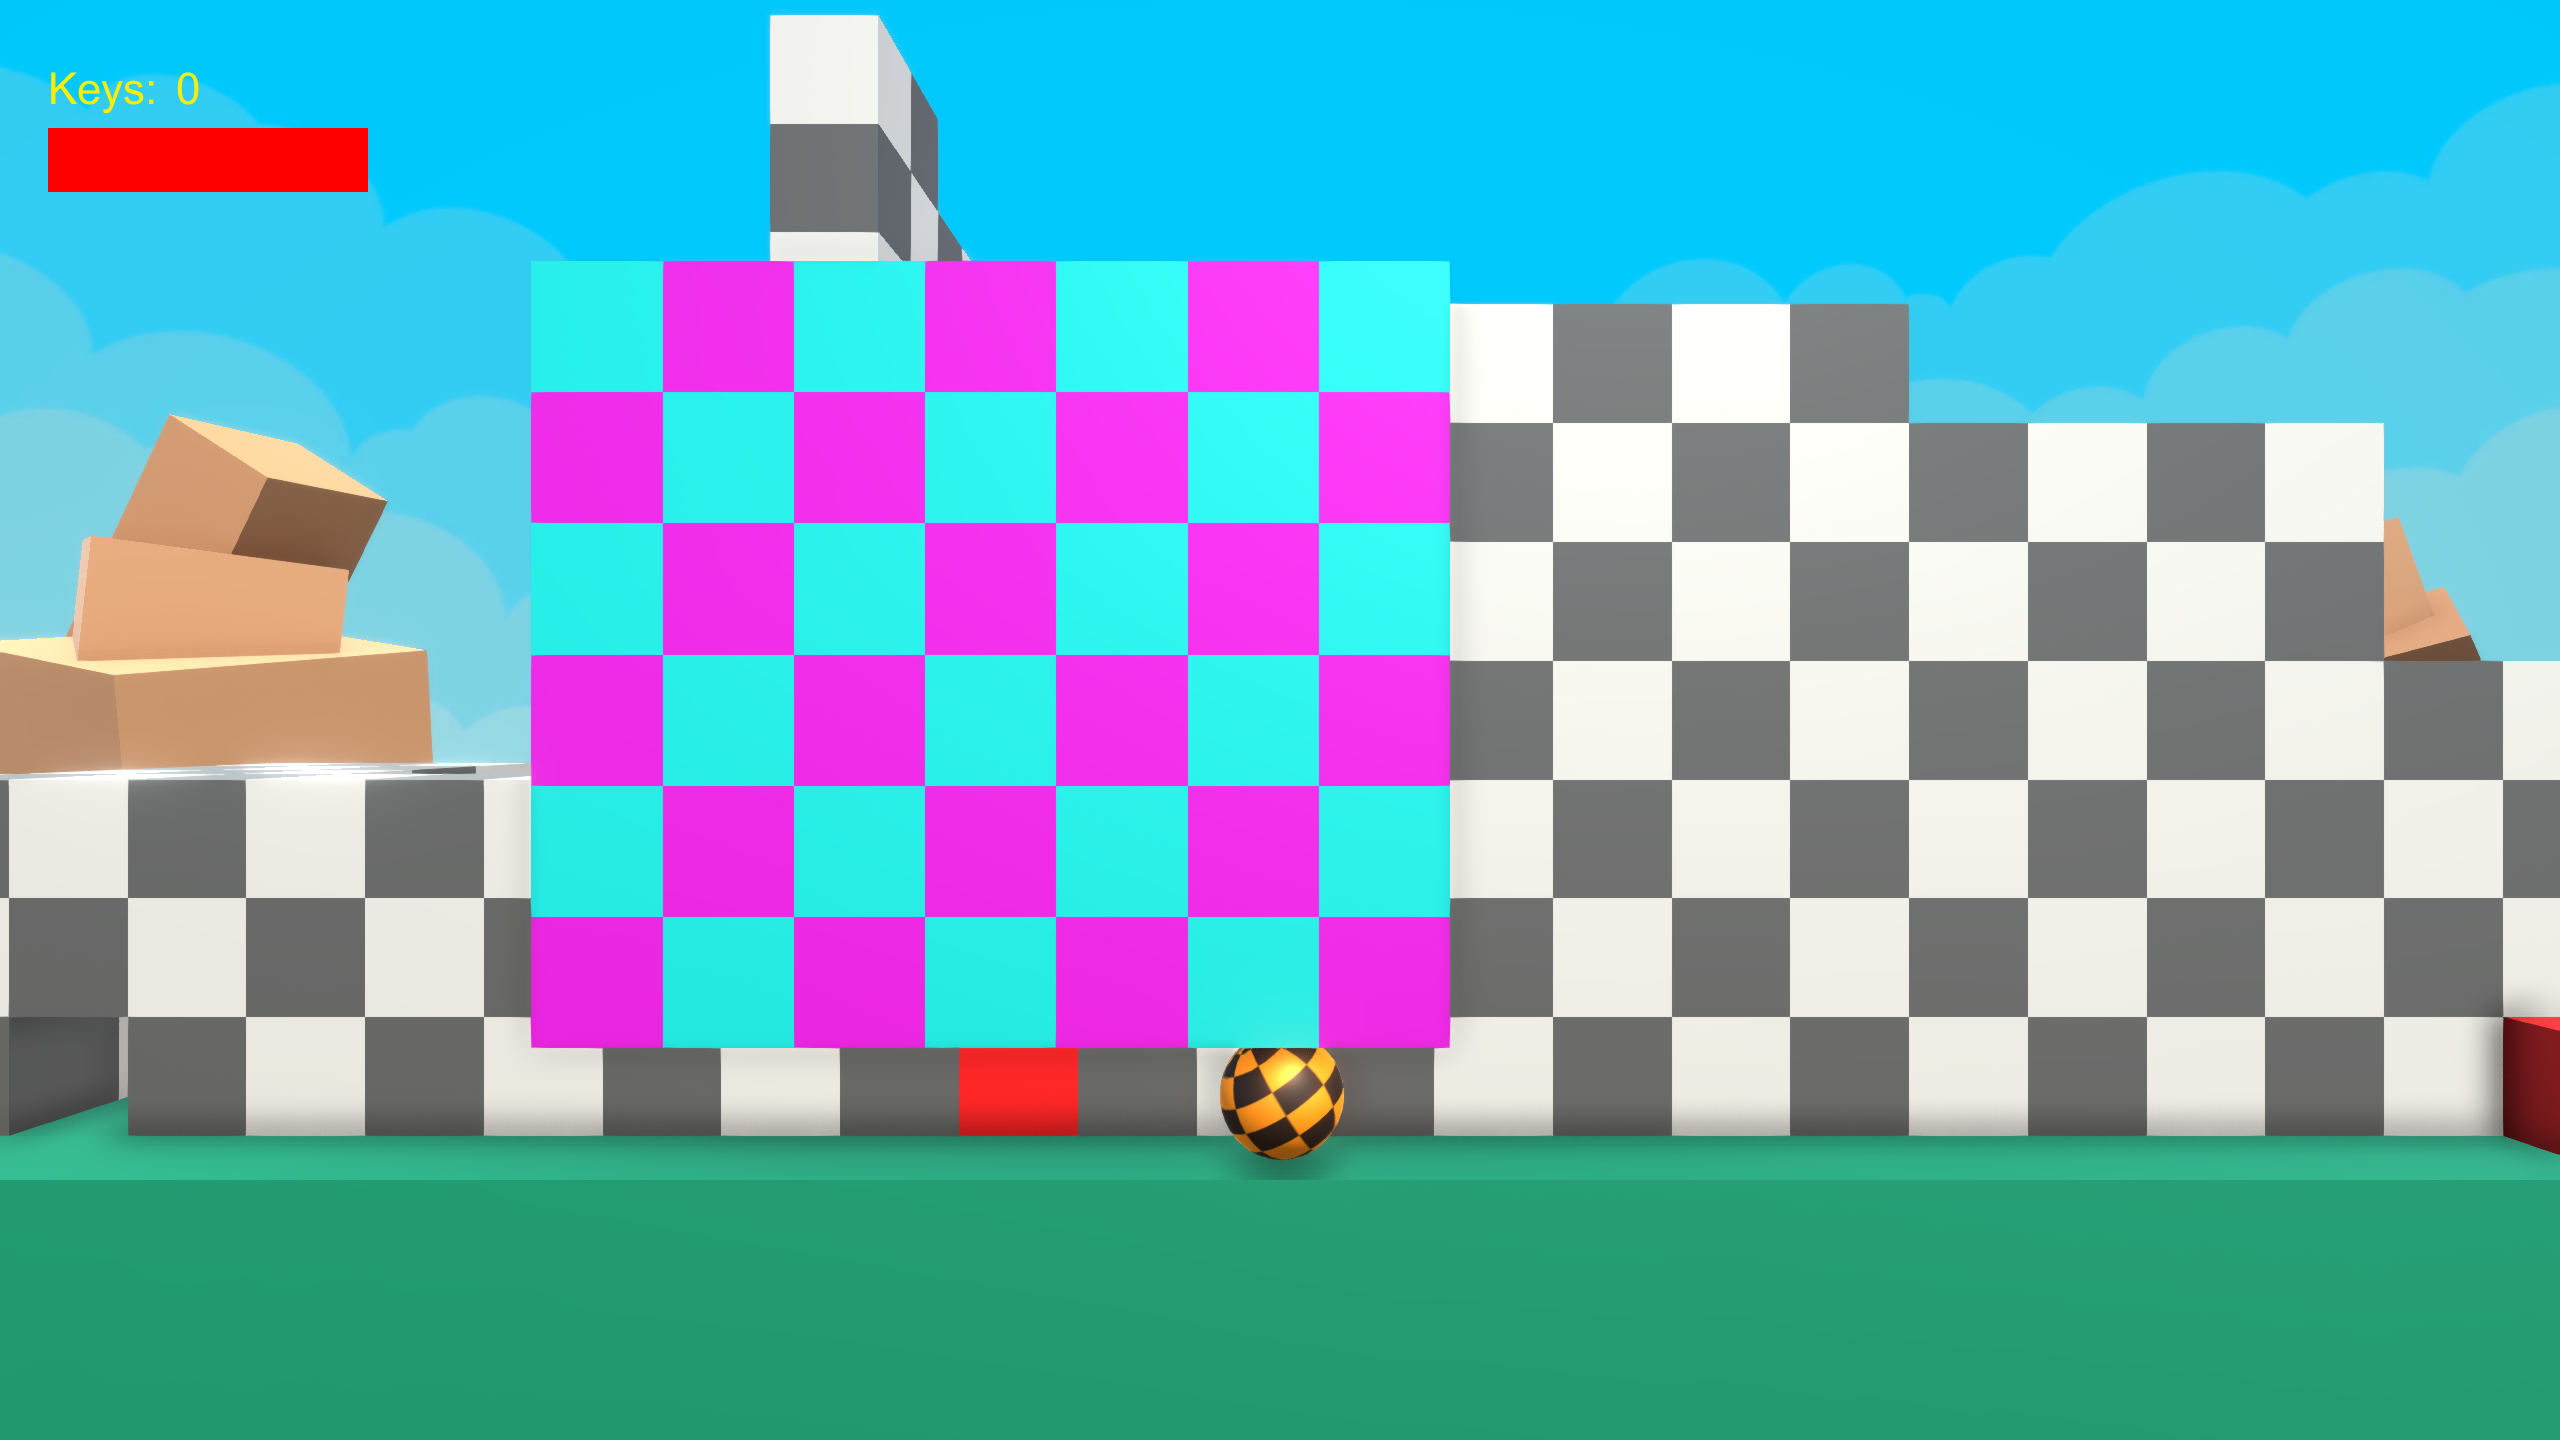
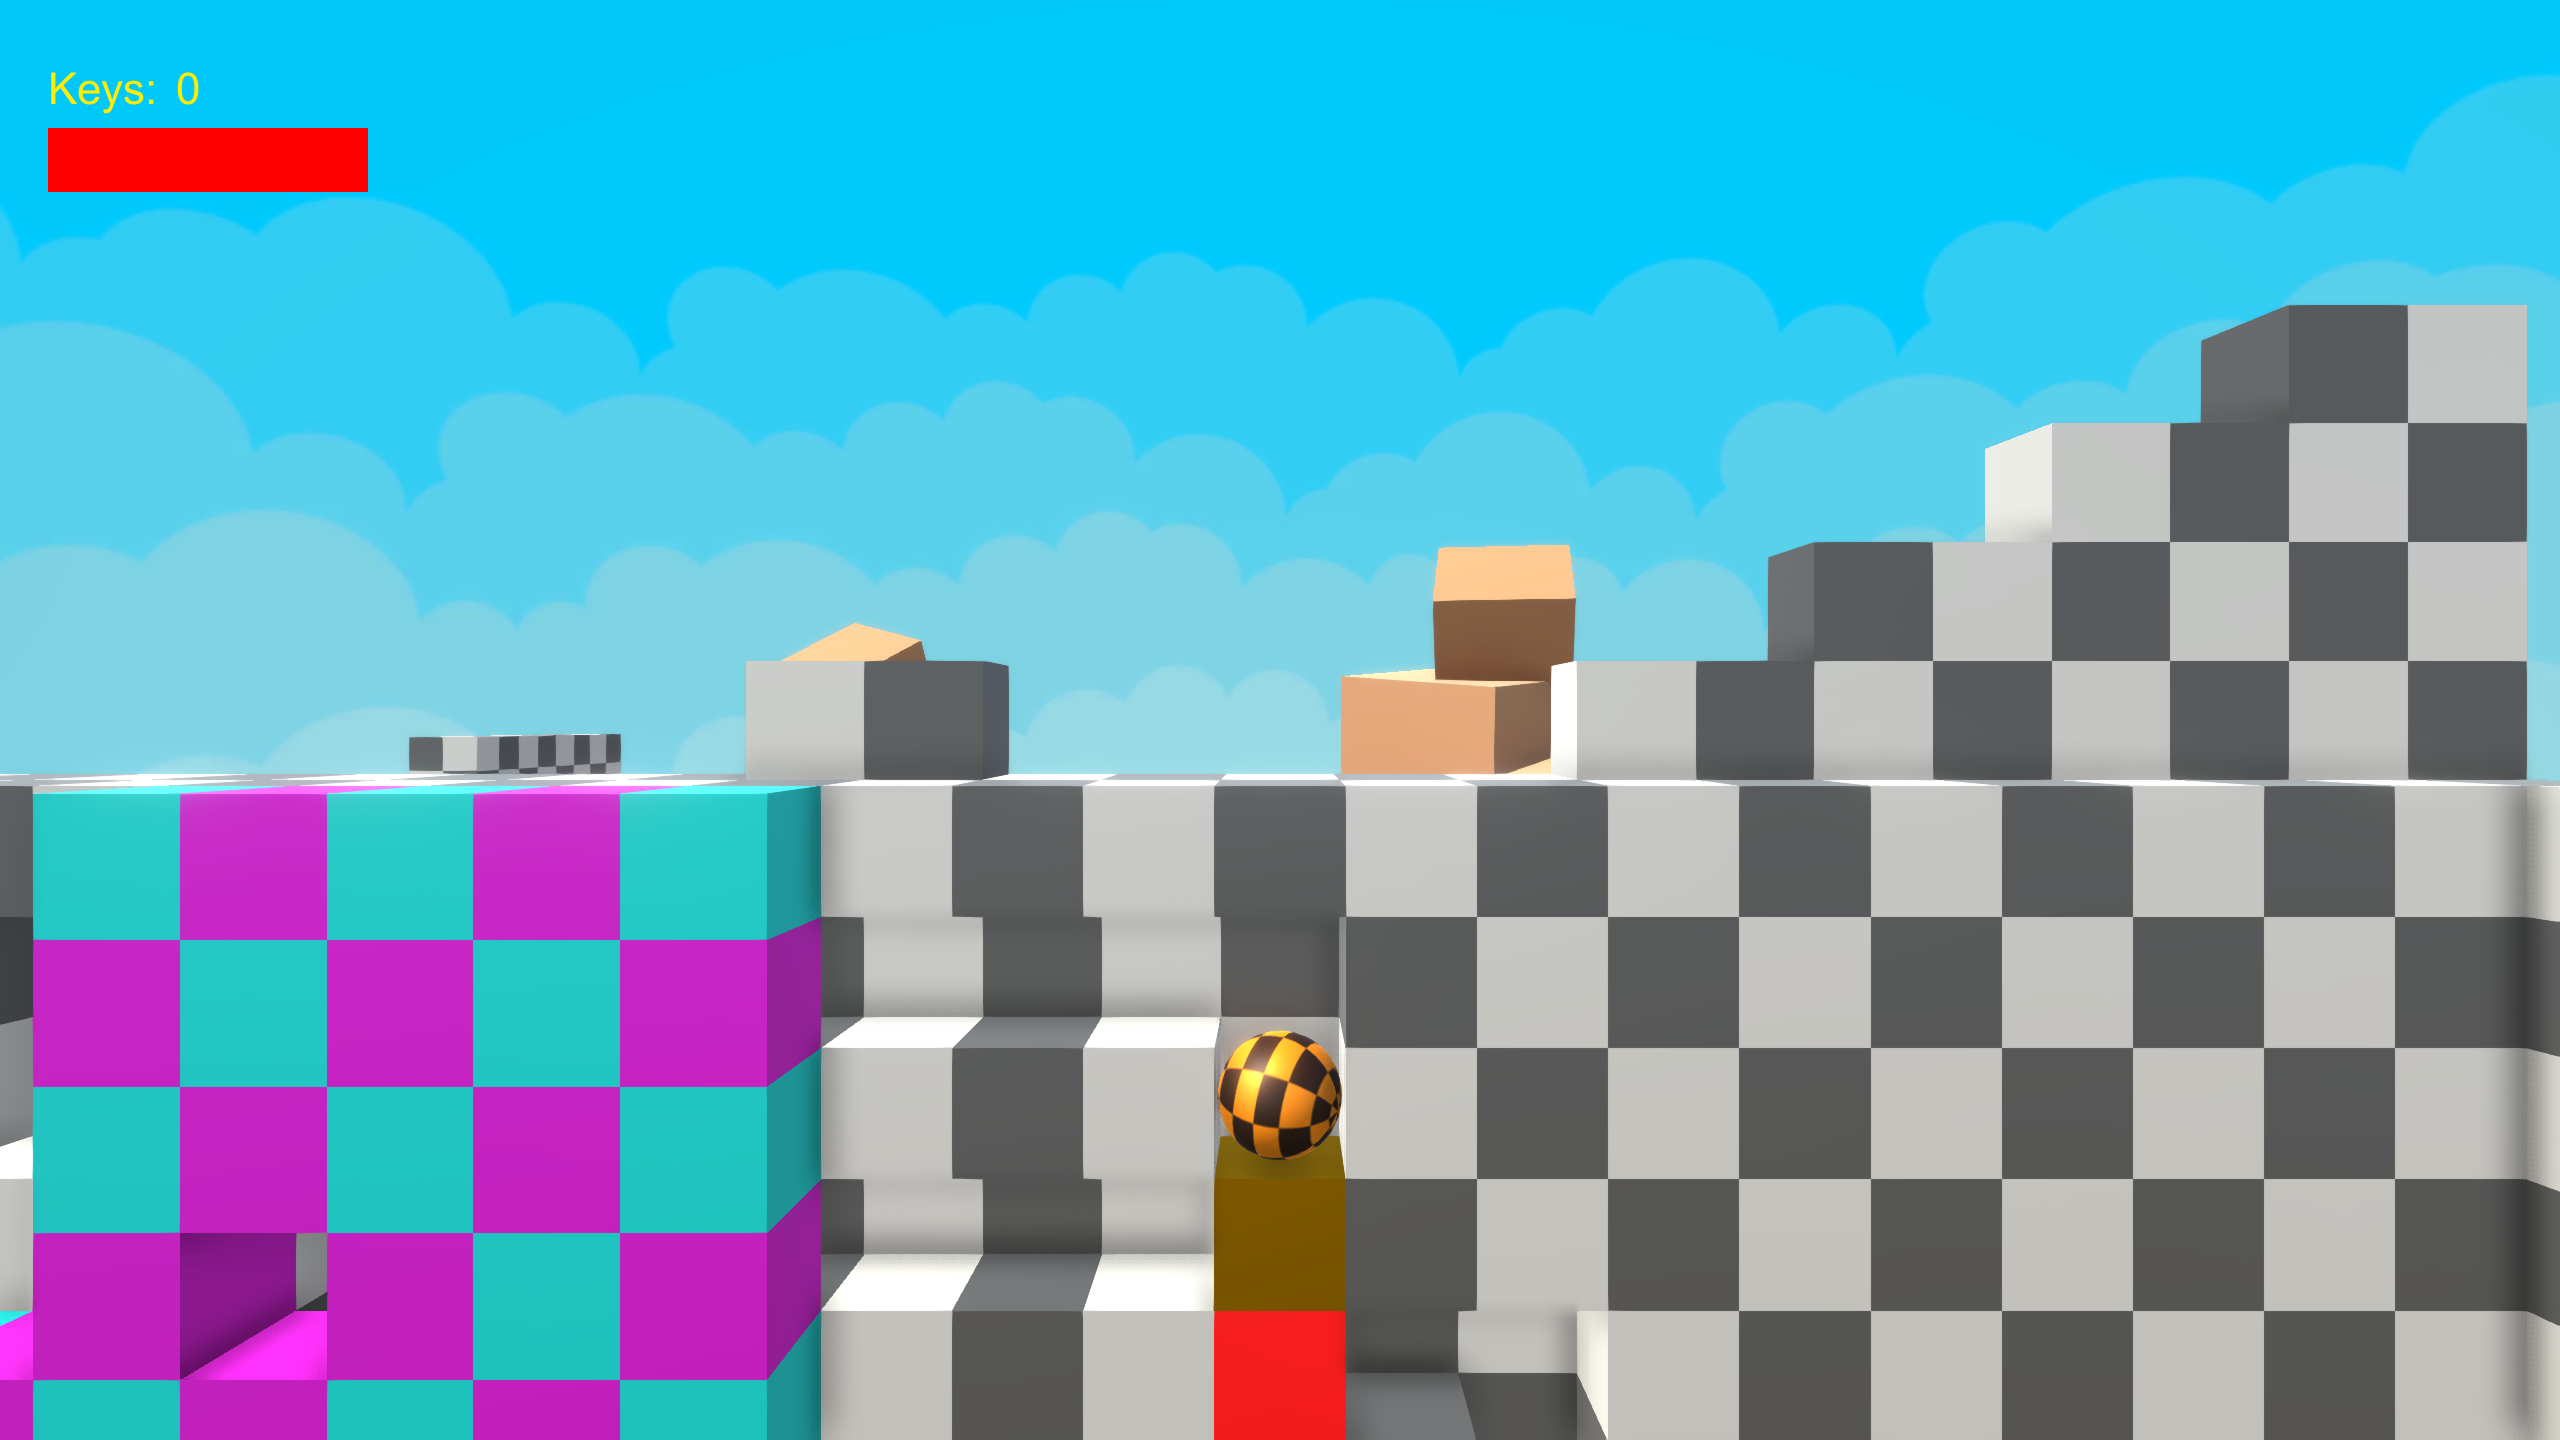
A prototype I made as an individual assignment at my school Futuregames. My initial idea for this prototype was to make a game similar to Metroid but with more focus on depth. As in regular platformers, you can walk sideways, but you can also find areas that are perpendicular to the main area.
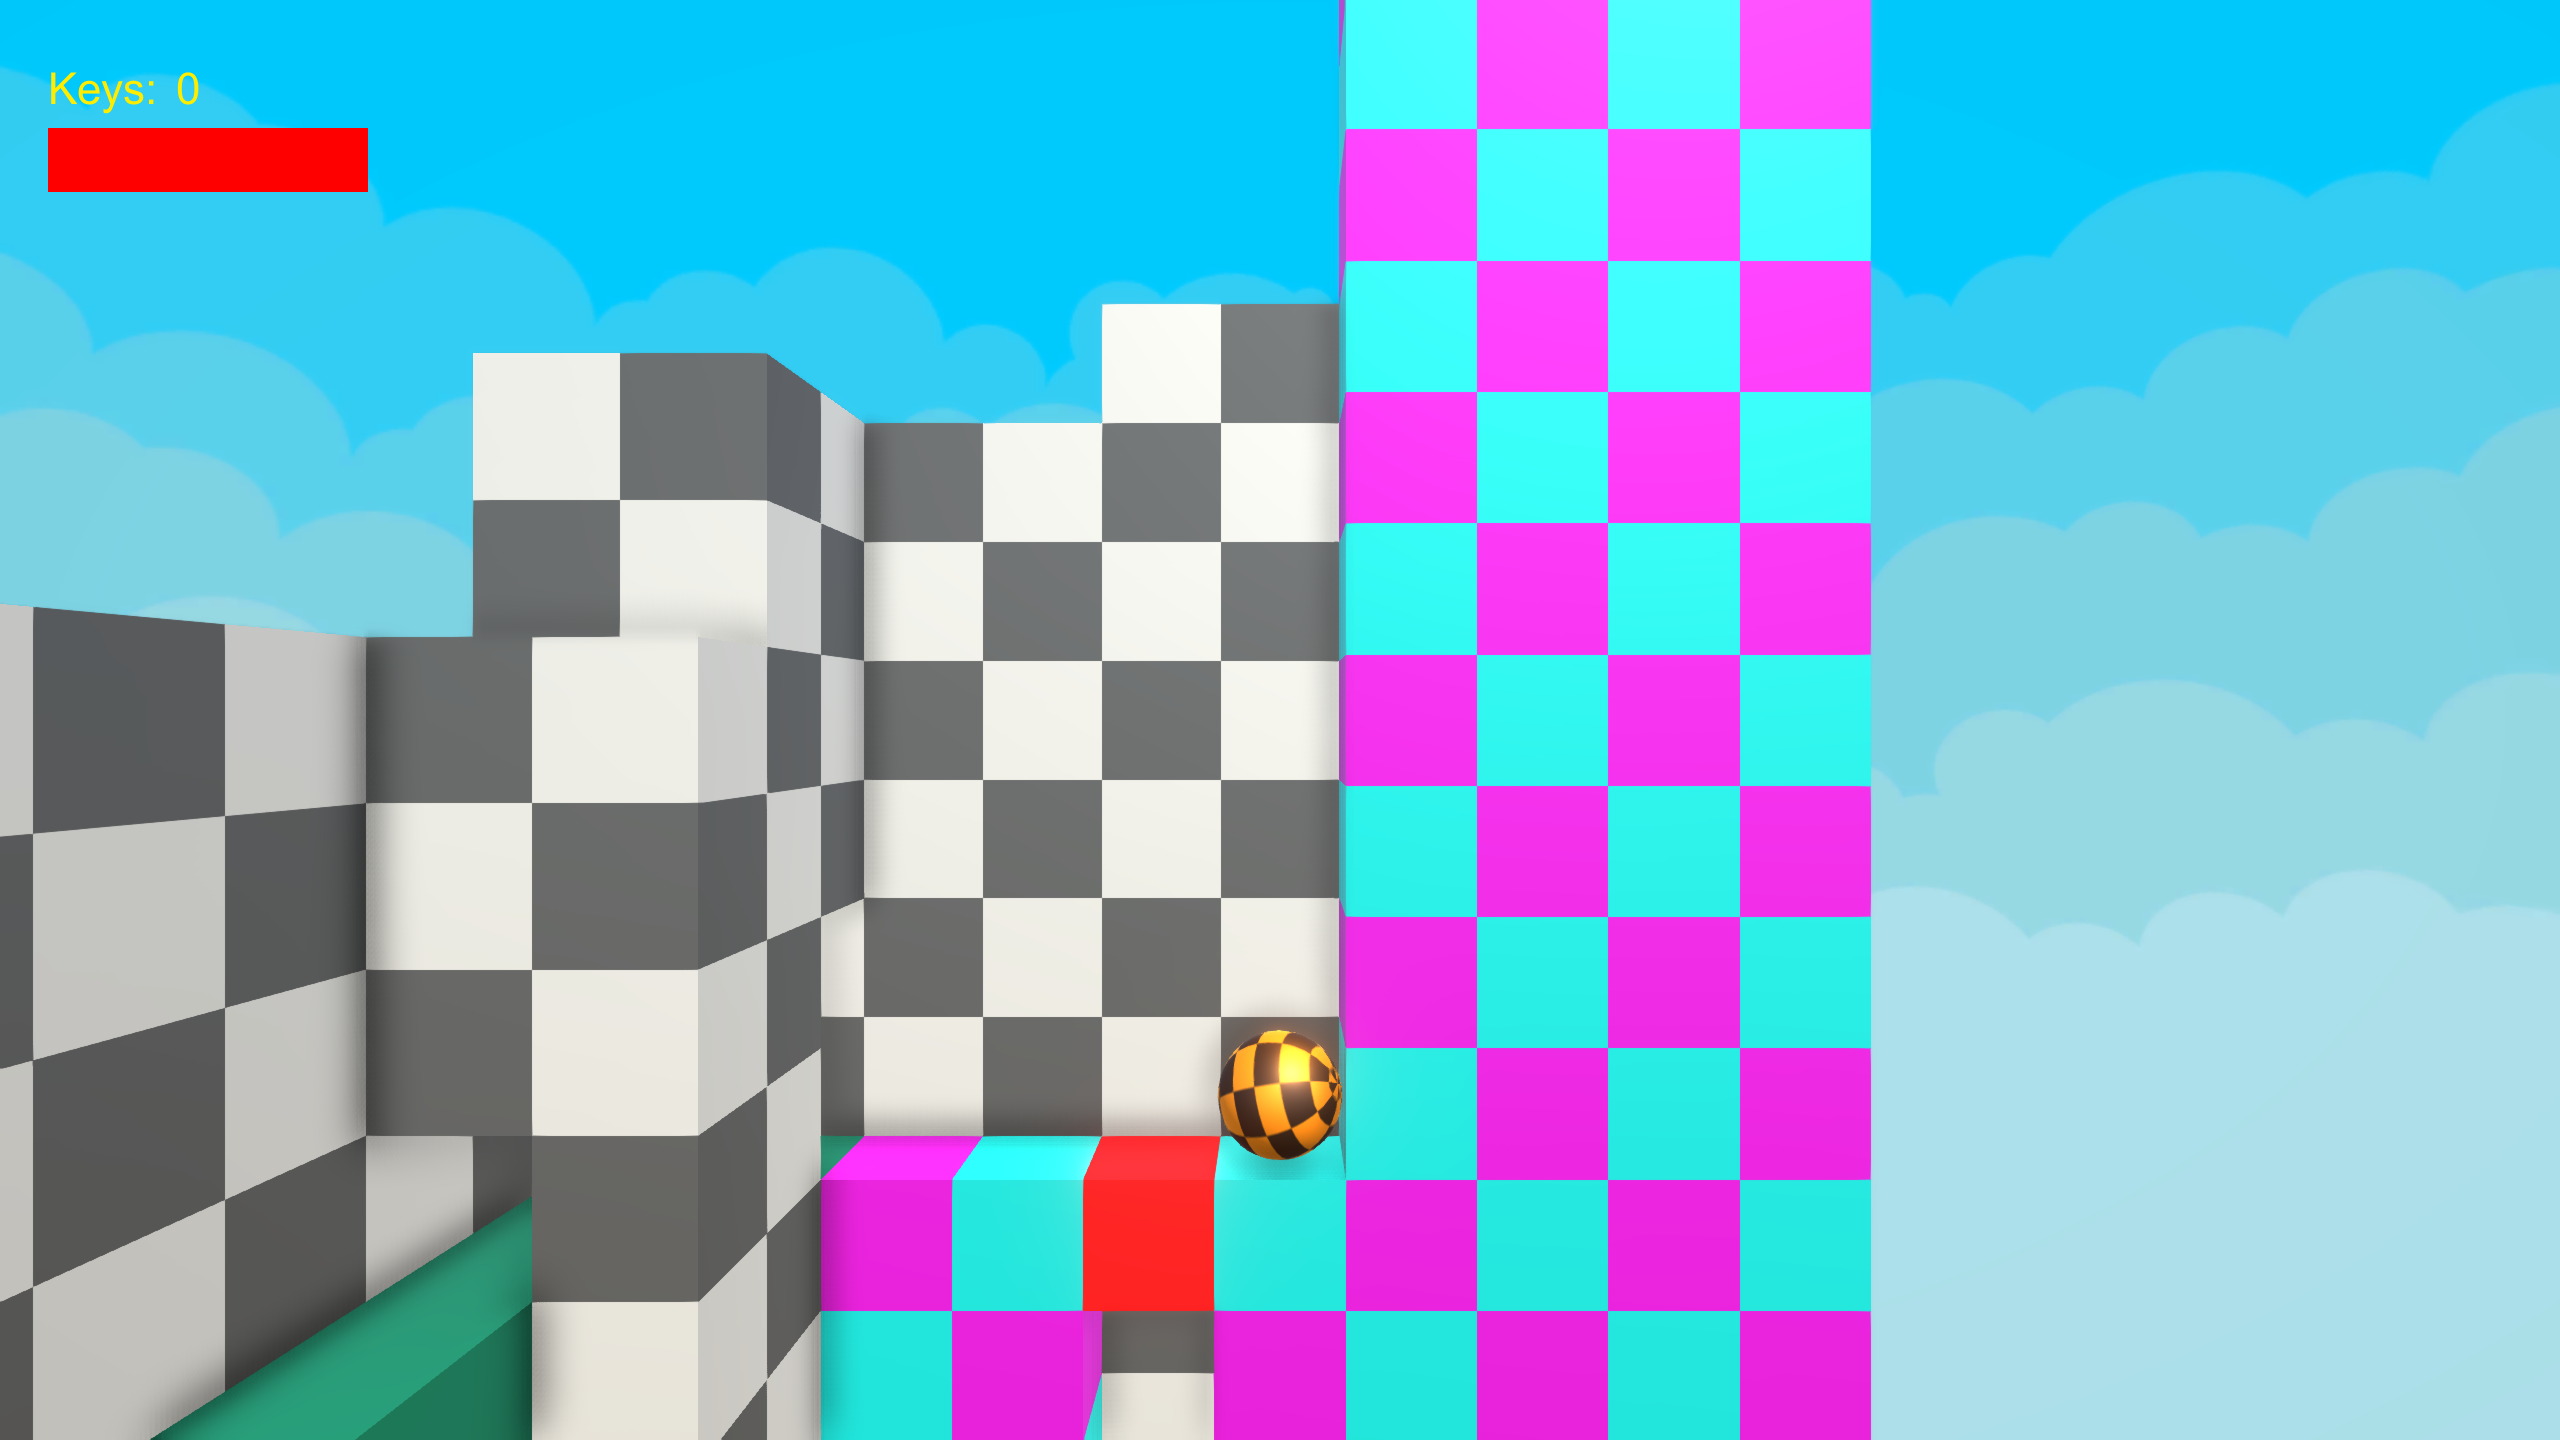
When traversing into a perpendicular area the camera rotates 90 degrees and you will start to walk perpendicular to the previous area, still viewed from a side-scrolling perspective.
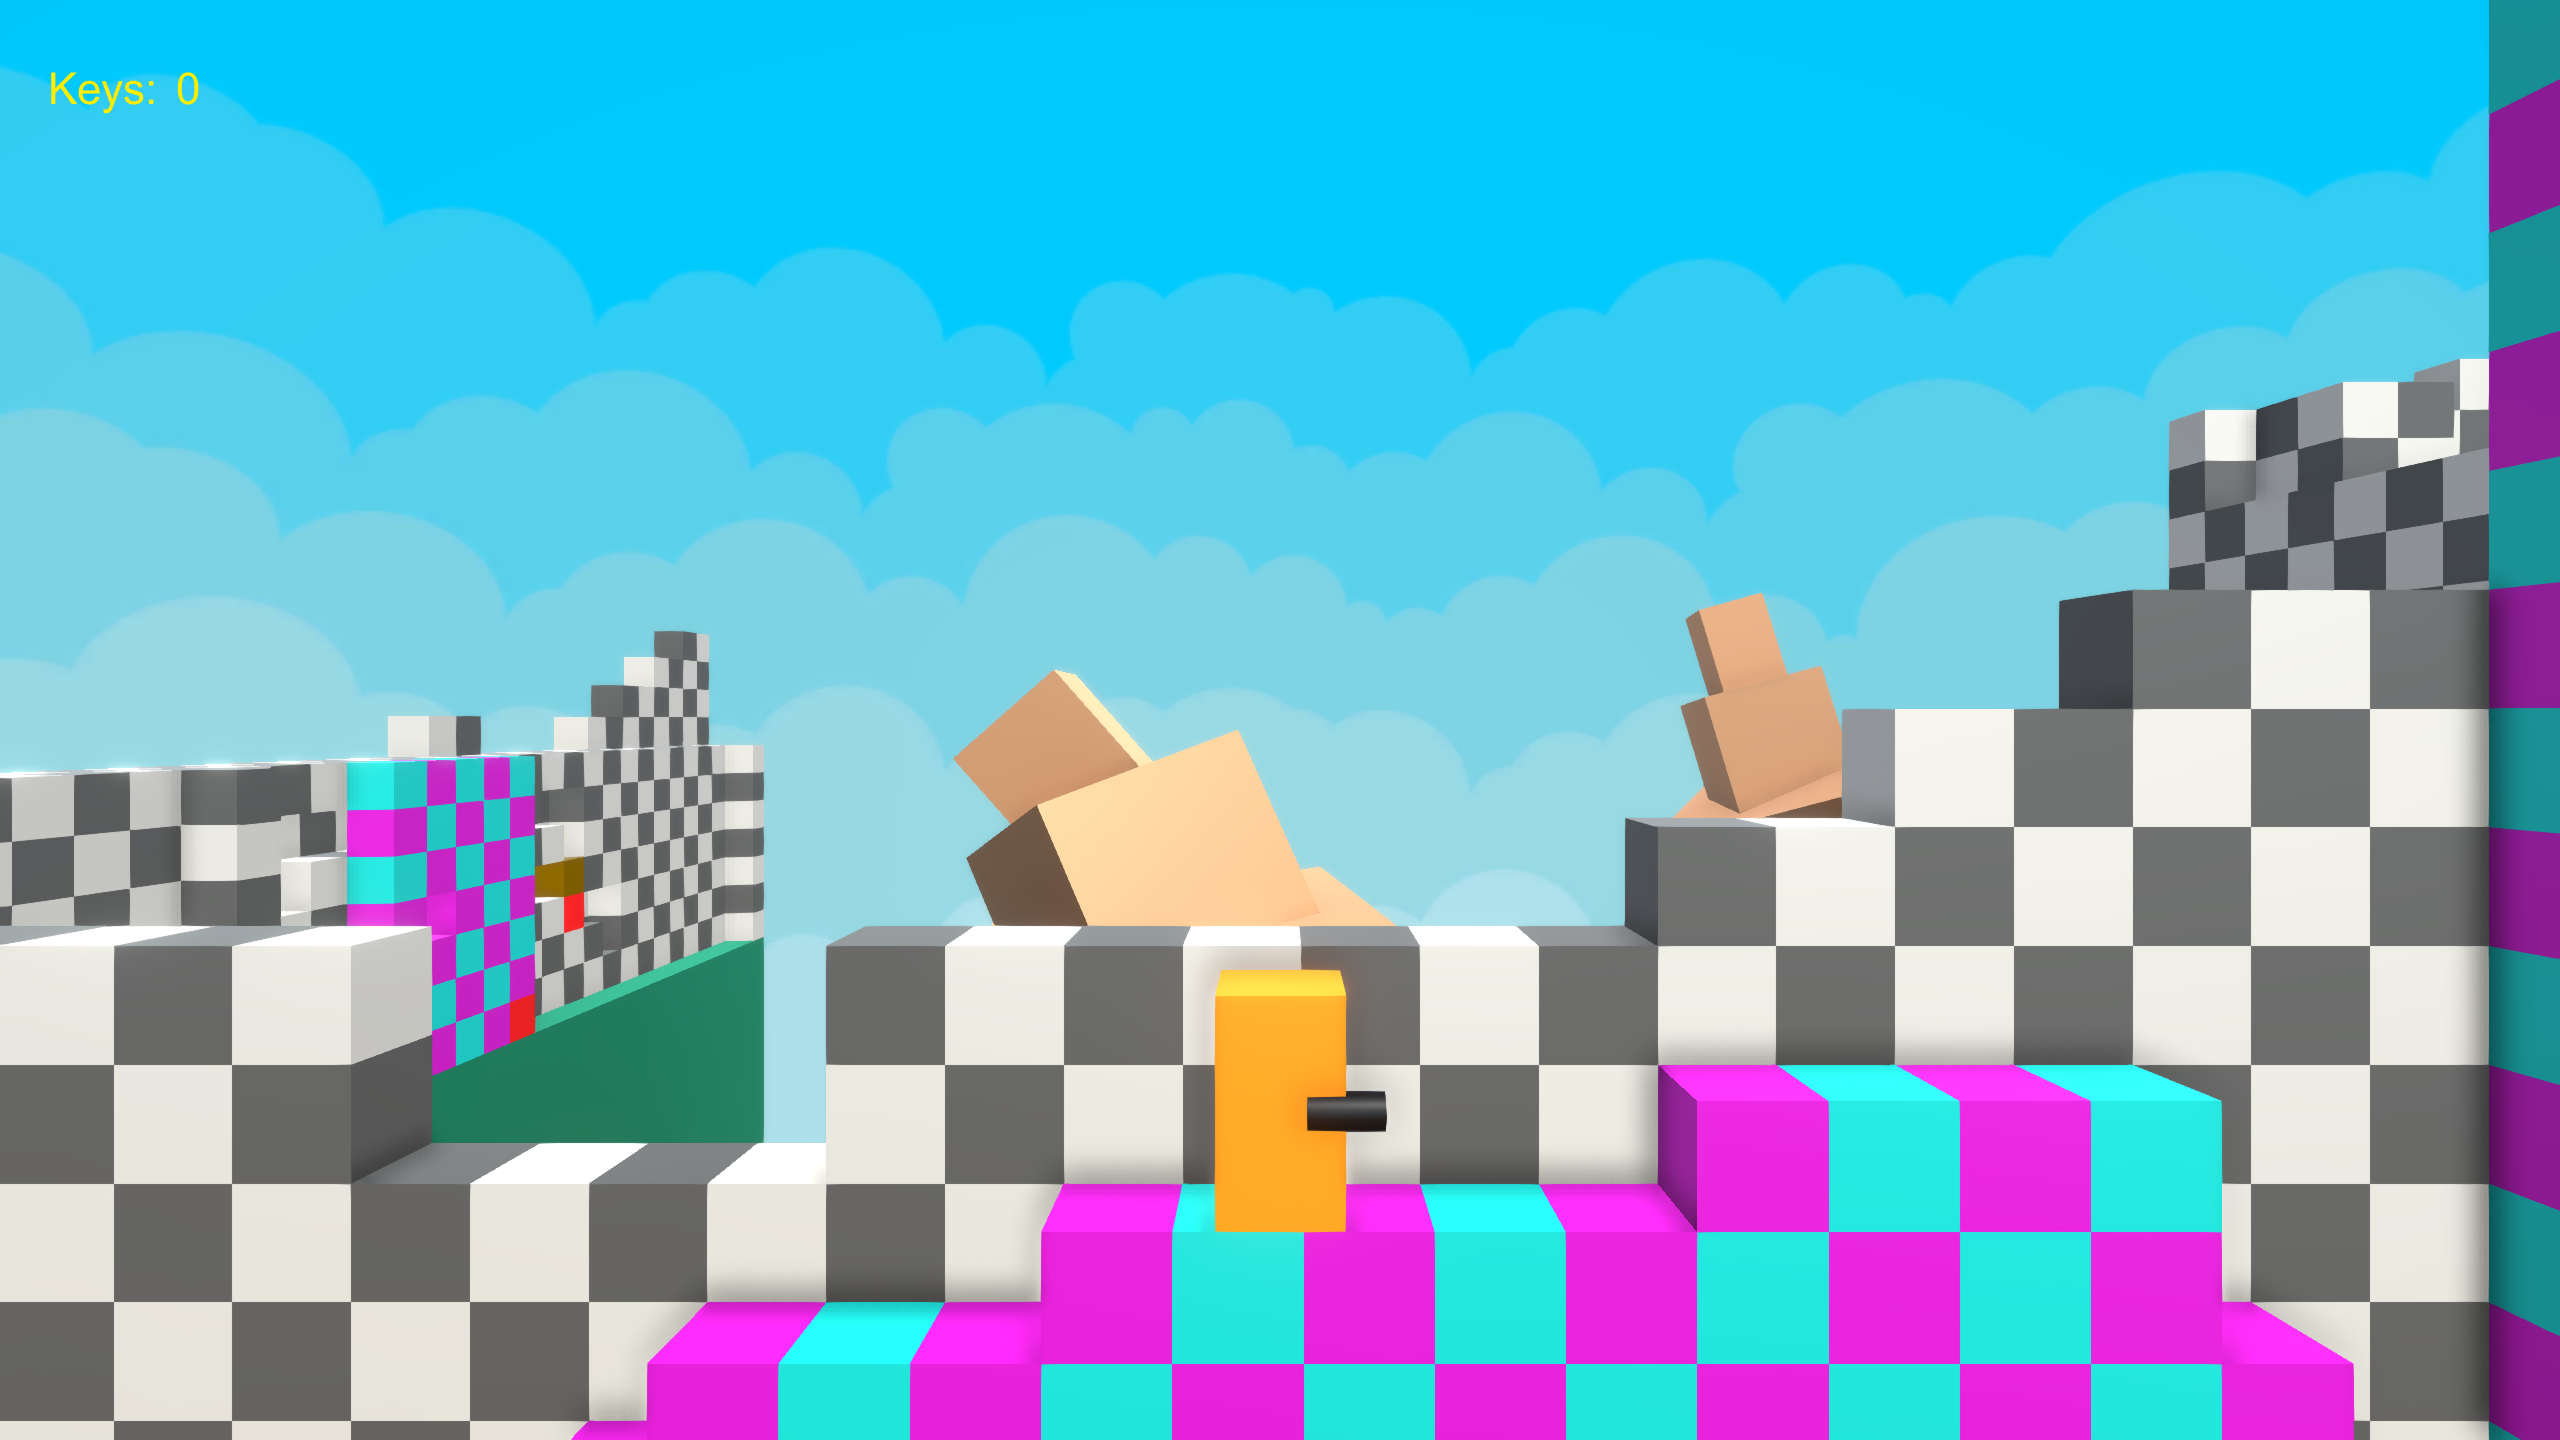
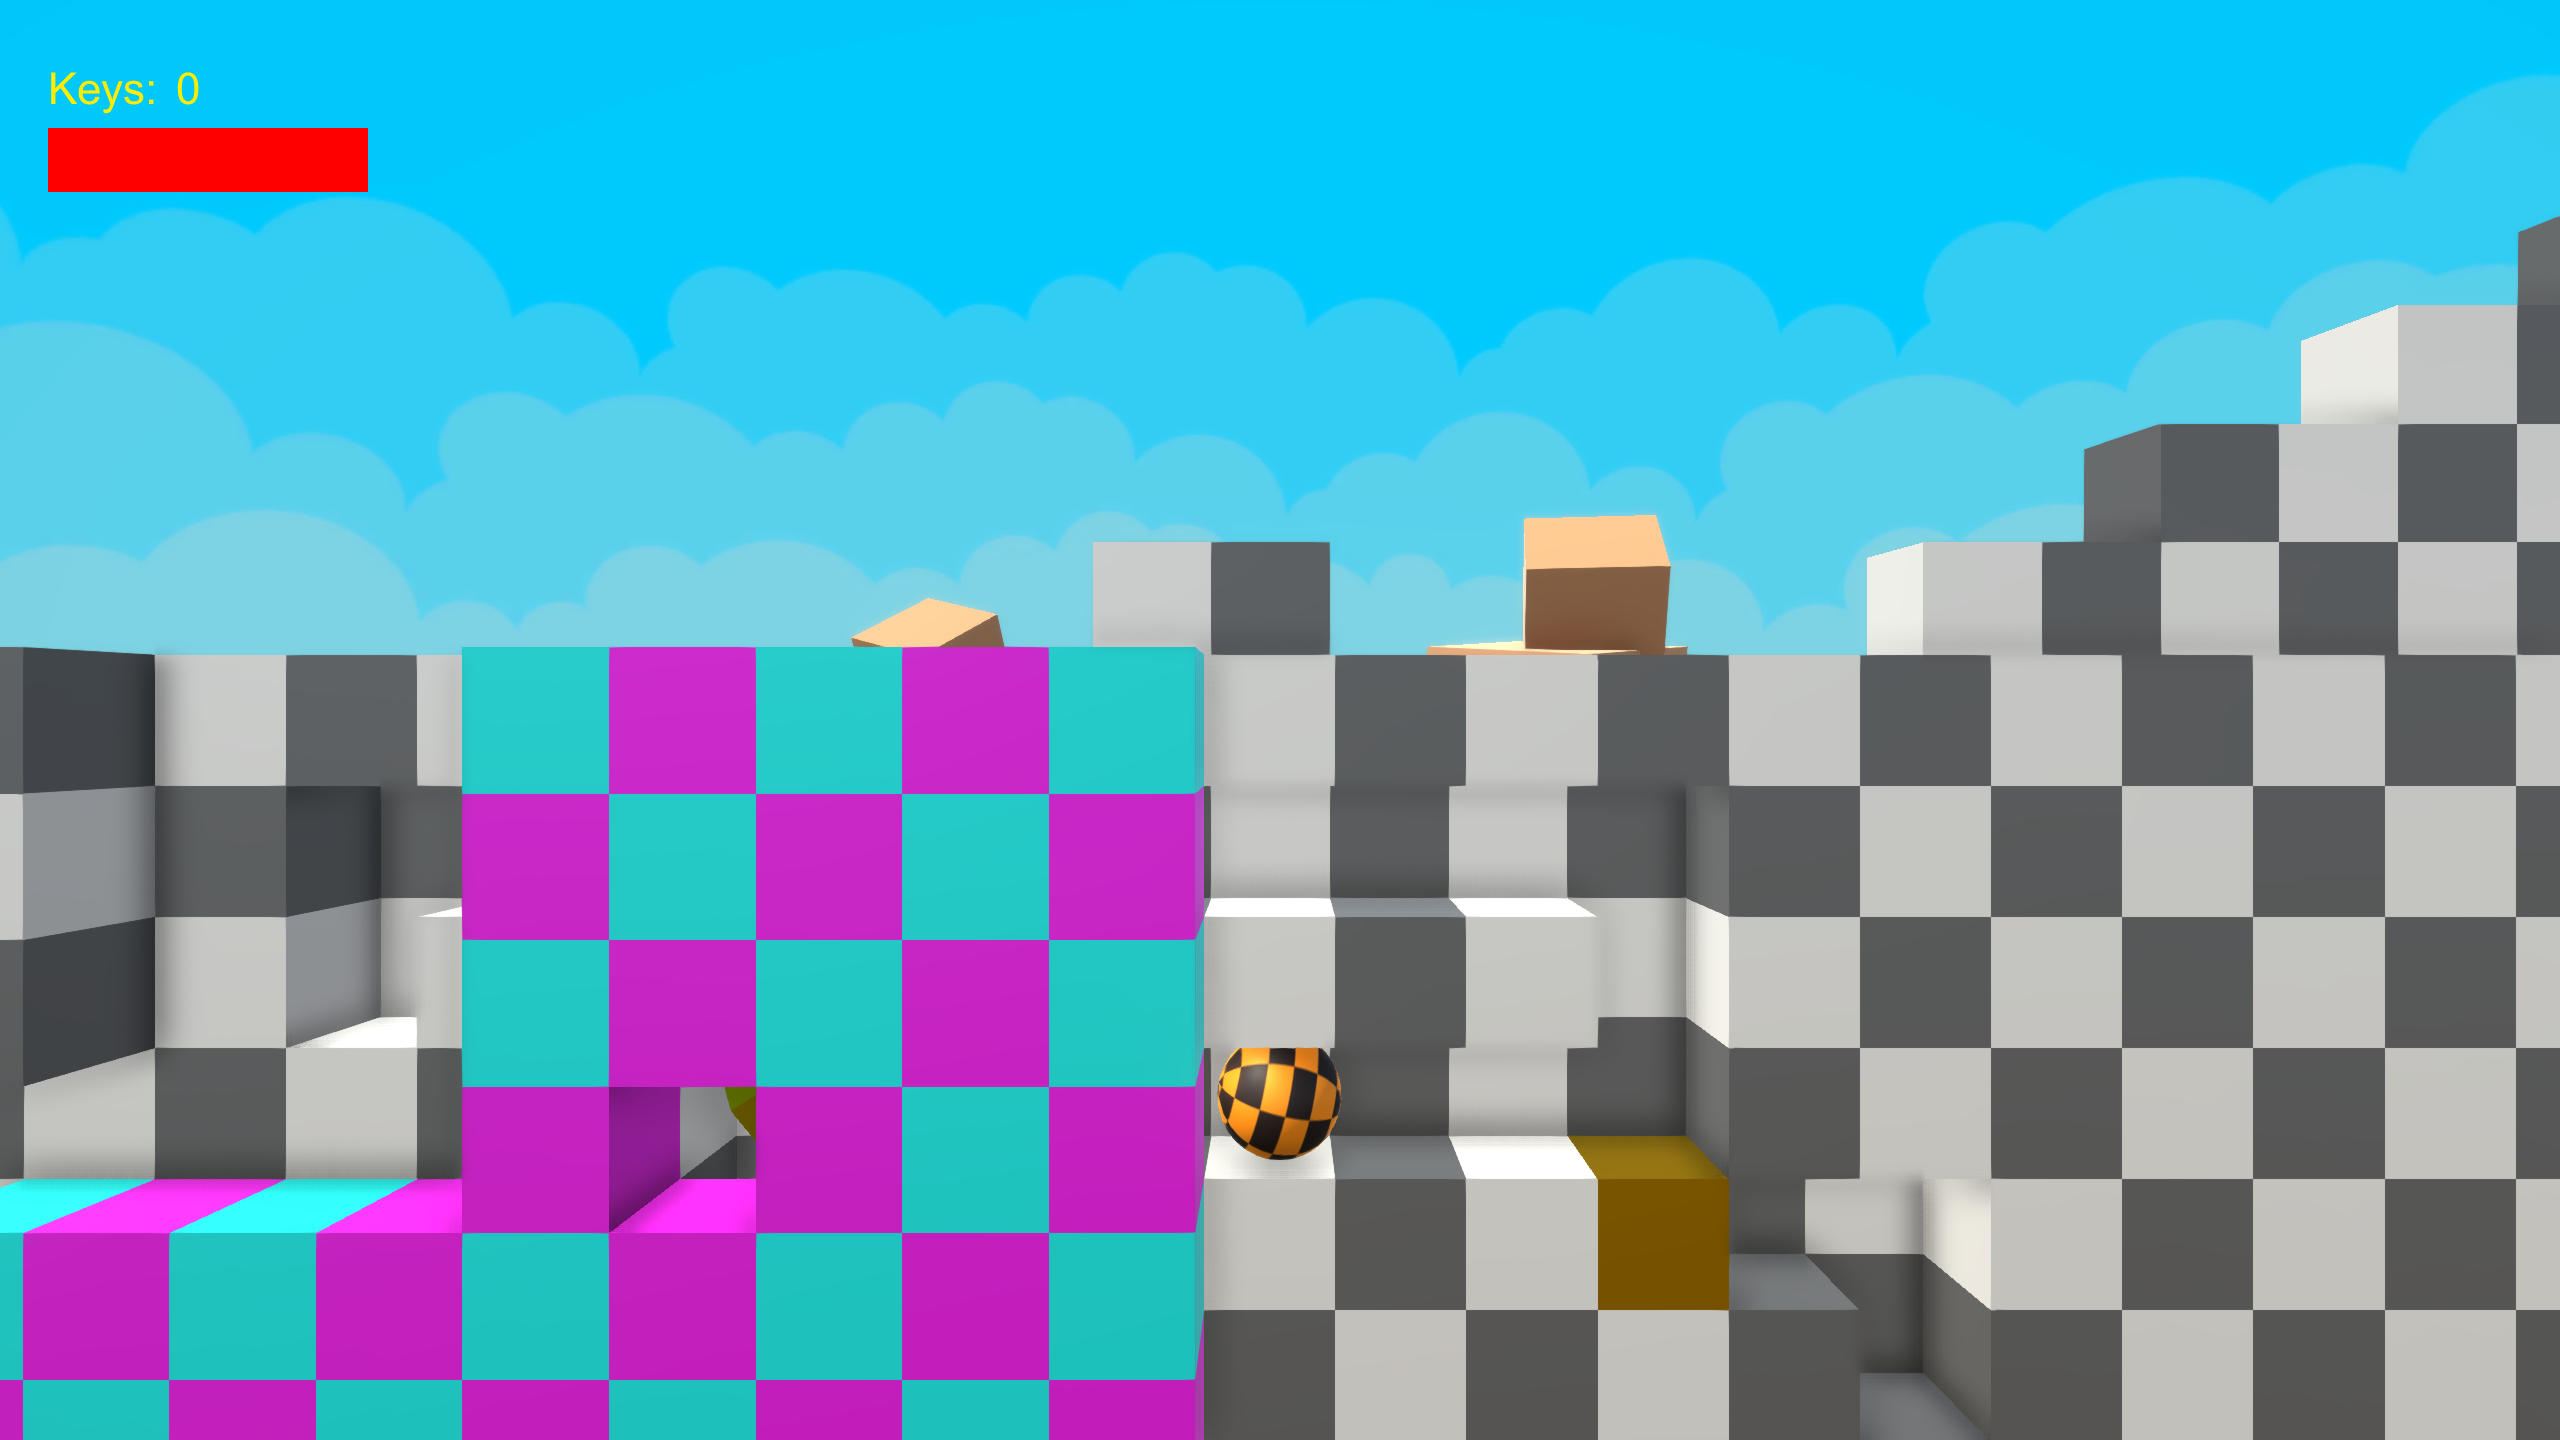
When I got this feature to feel good I got a lot of ideas for how I could design levels and puzzles. For example, you could see a perpendicular area in the background to get a hint that you could get there somehow.
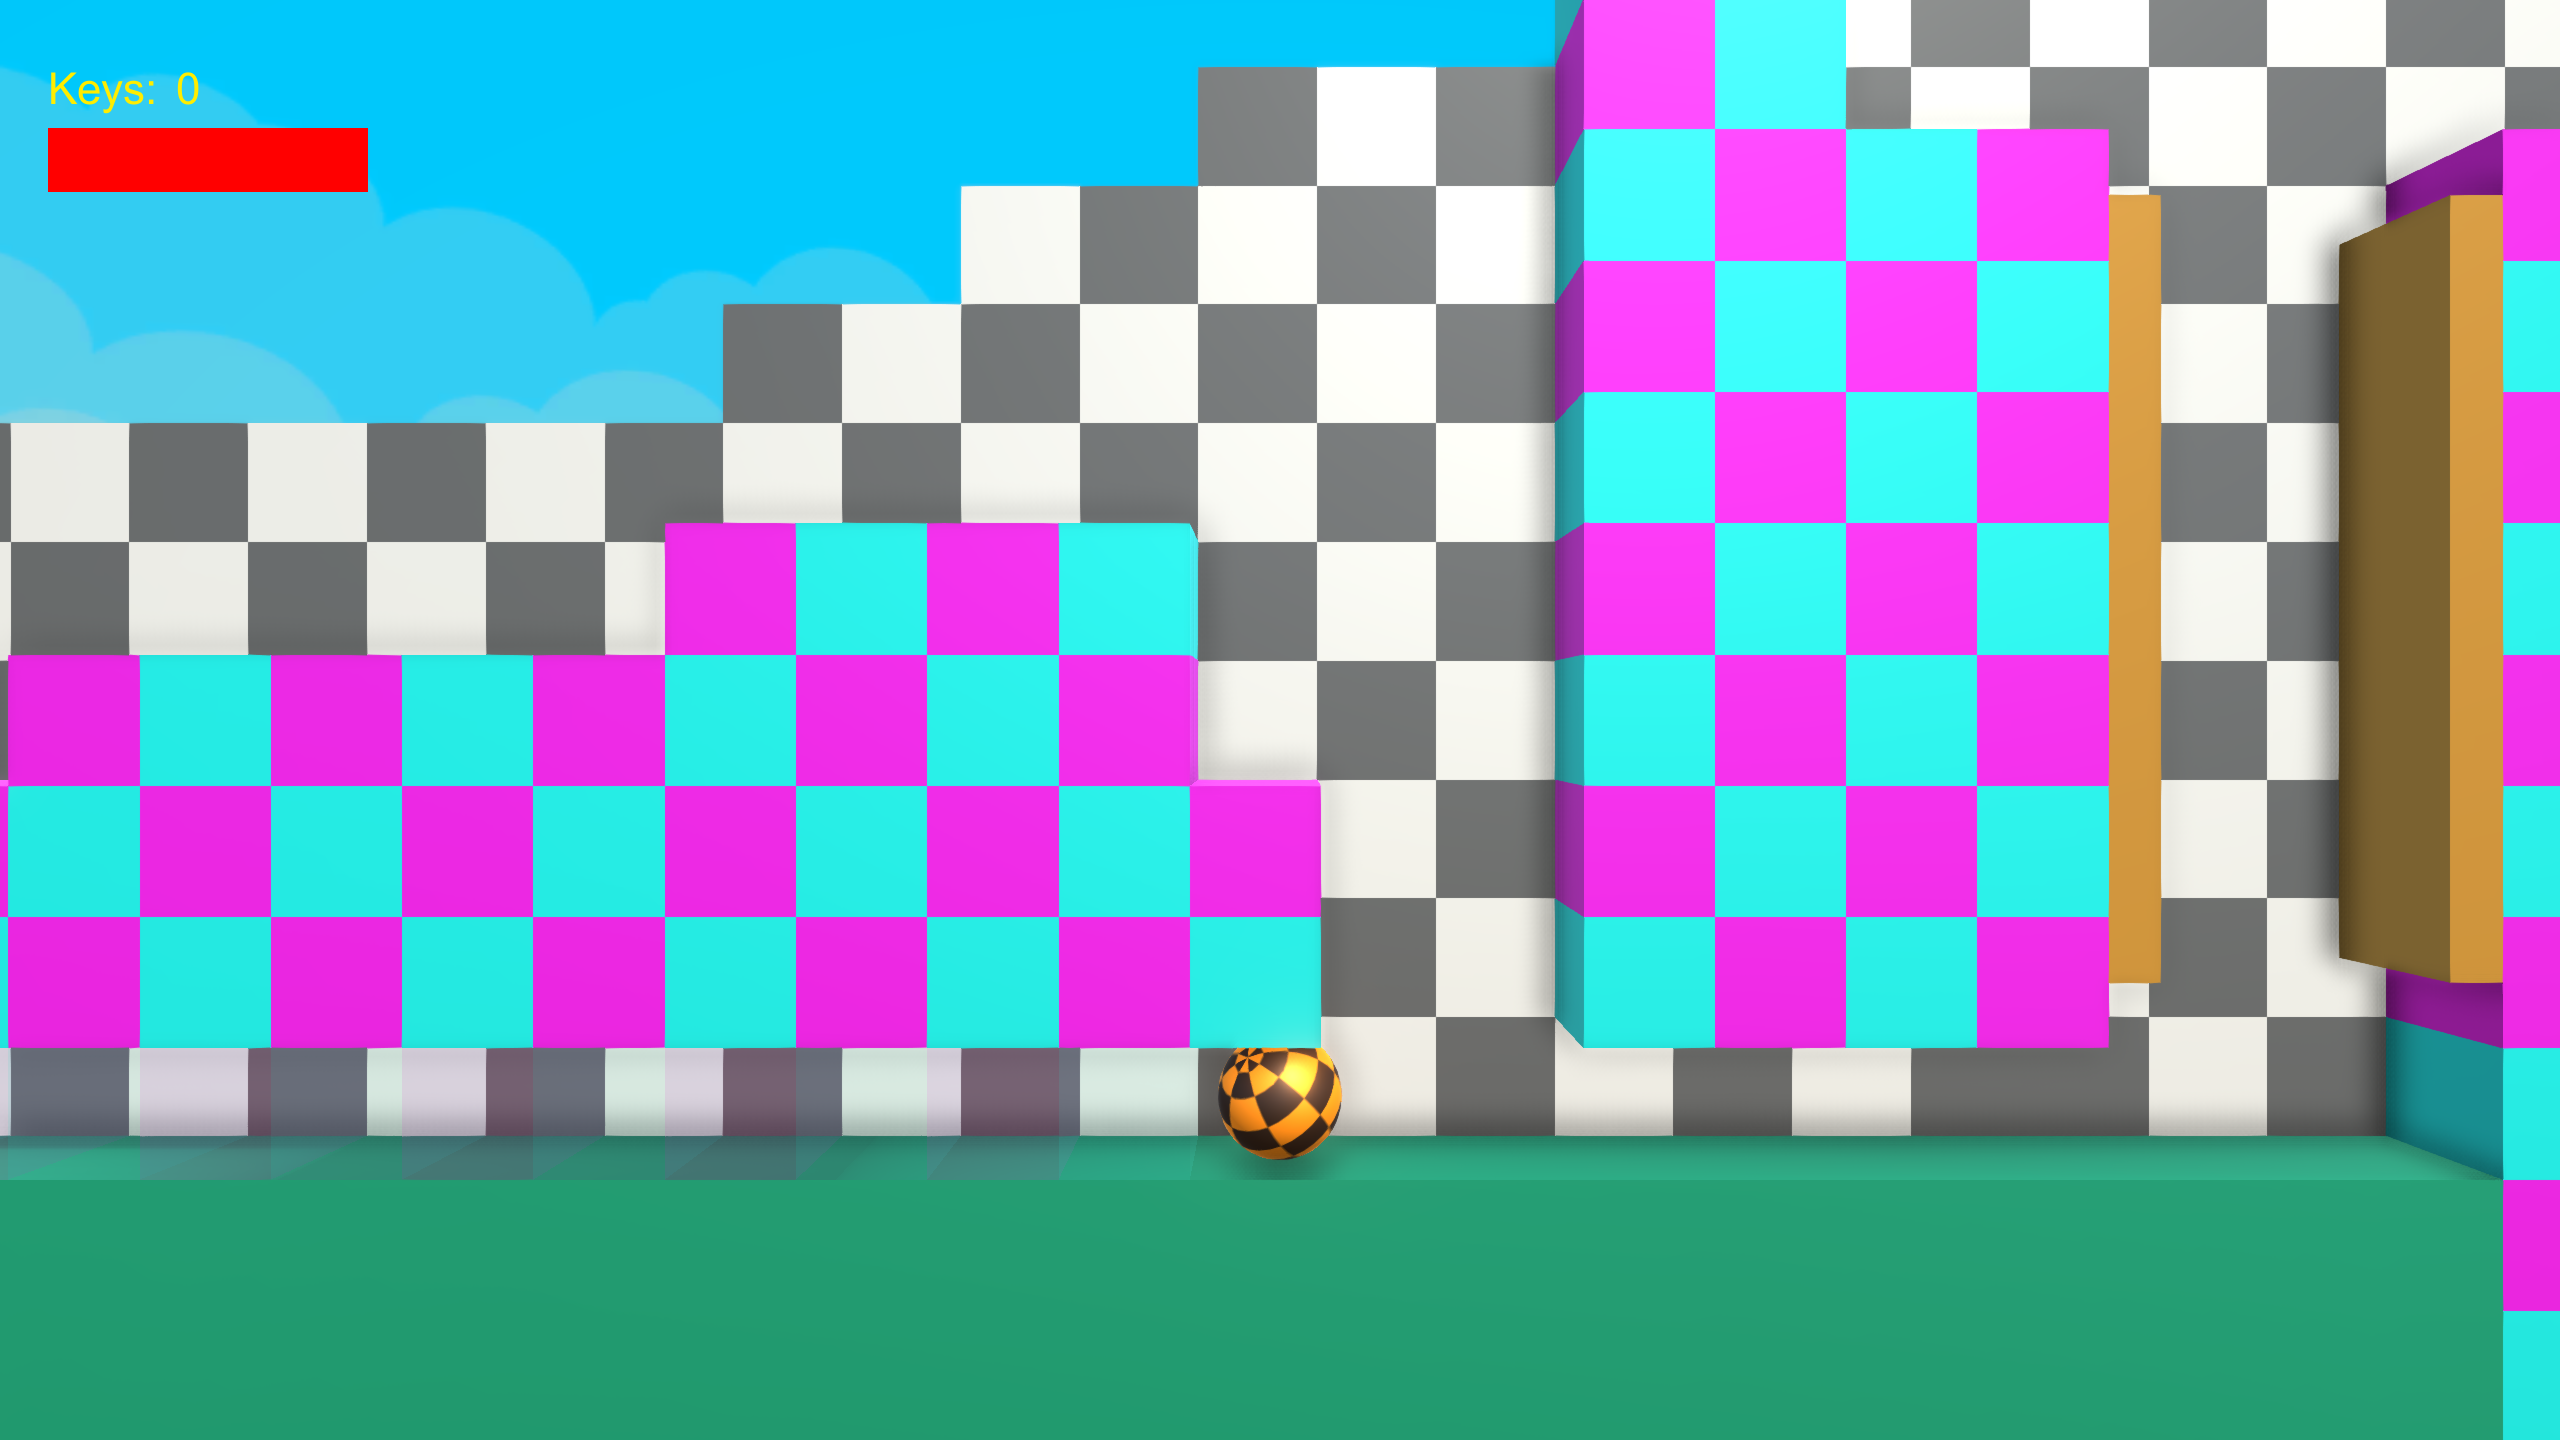
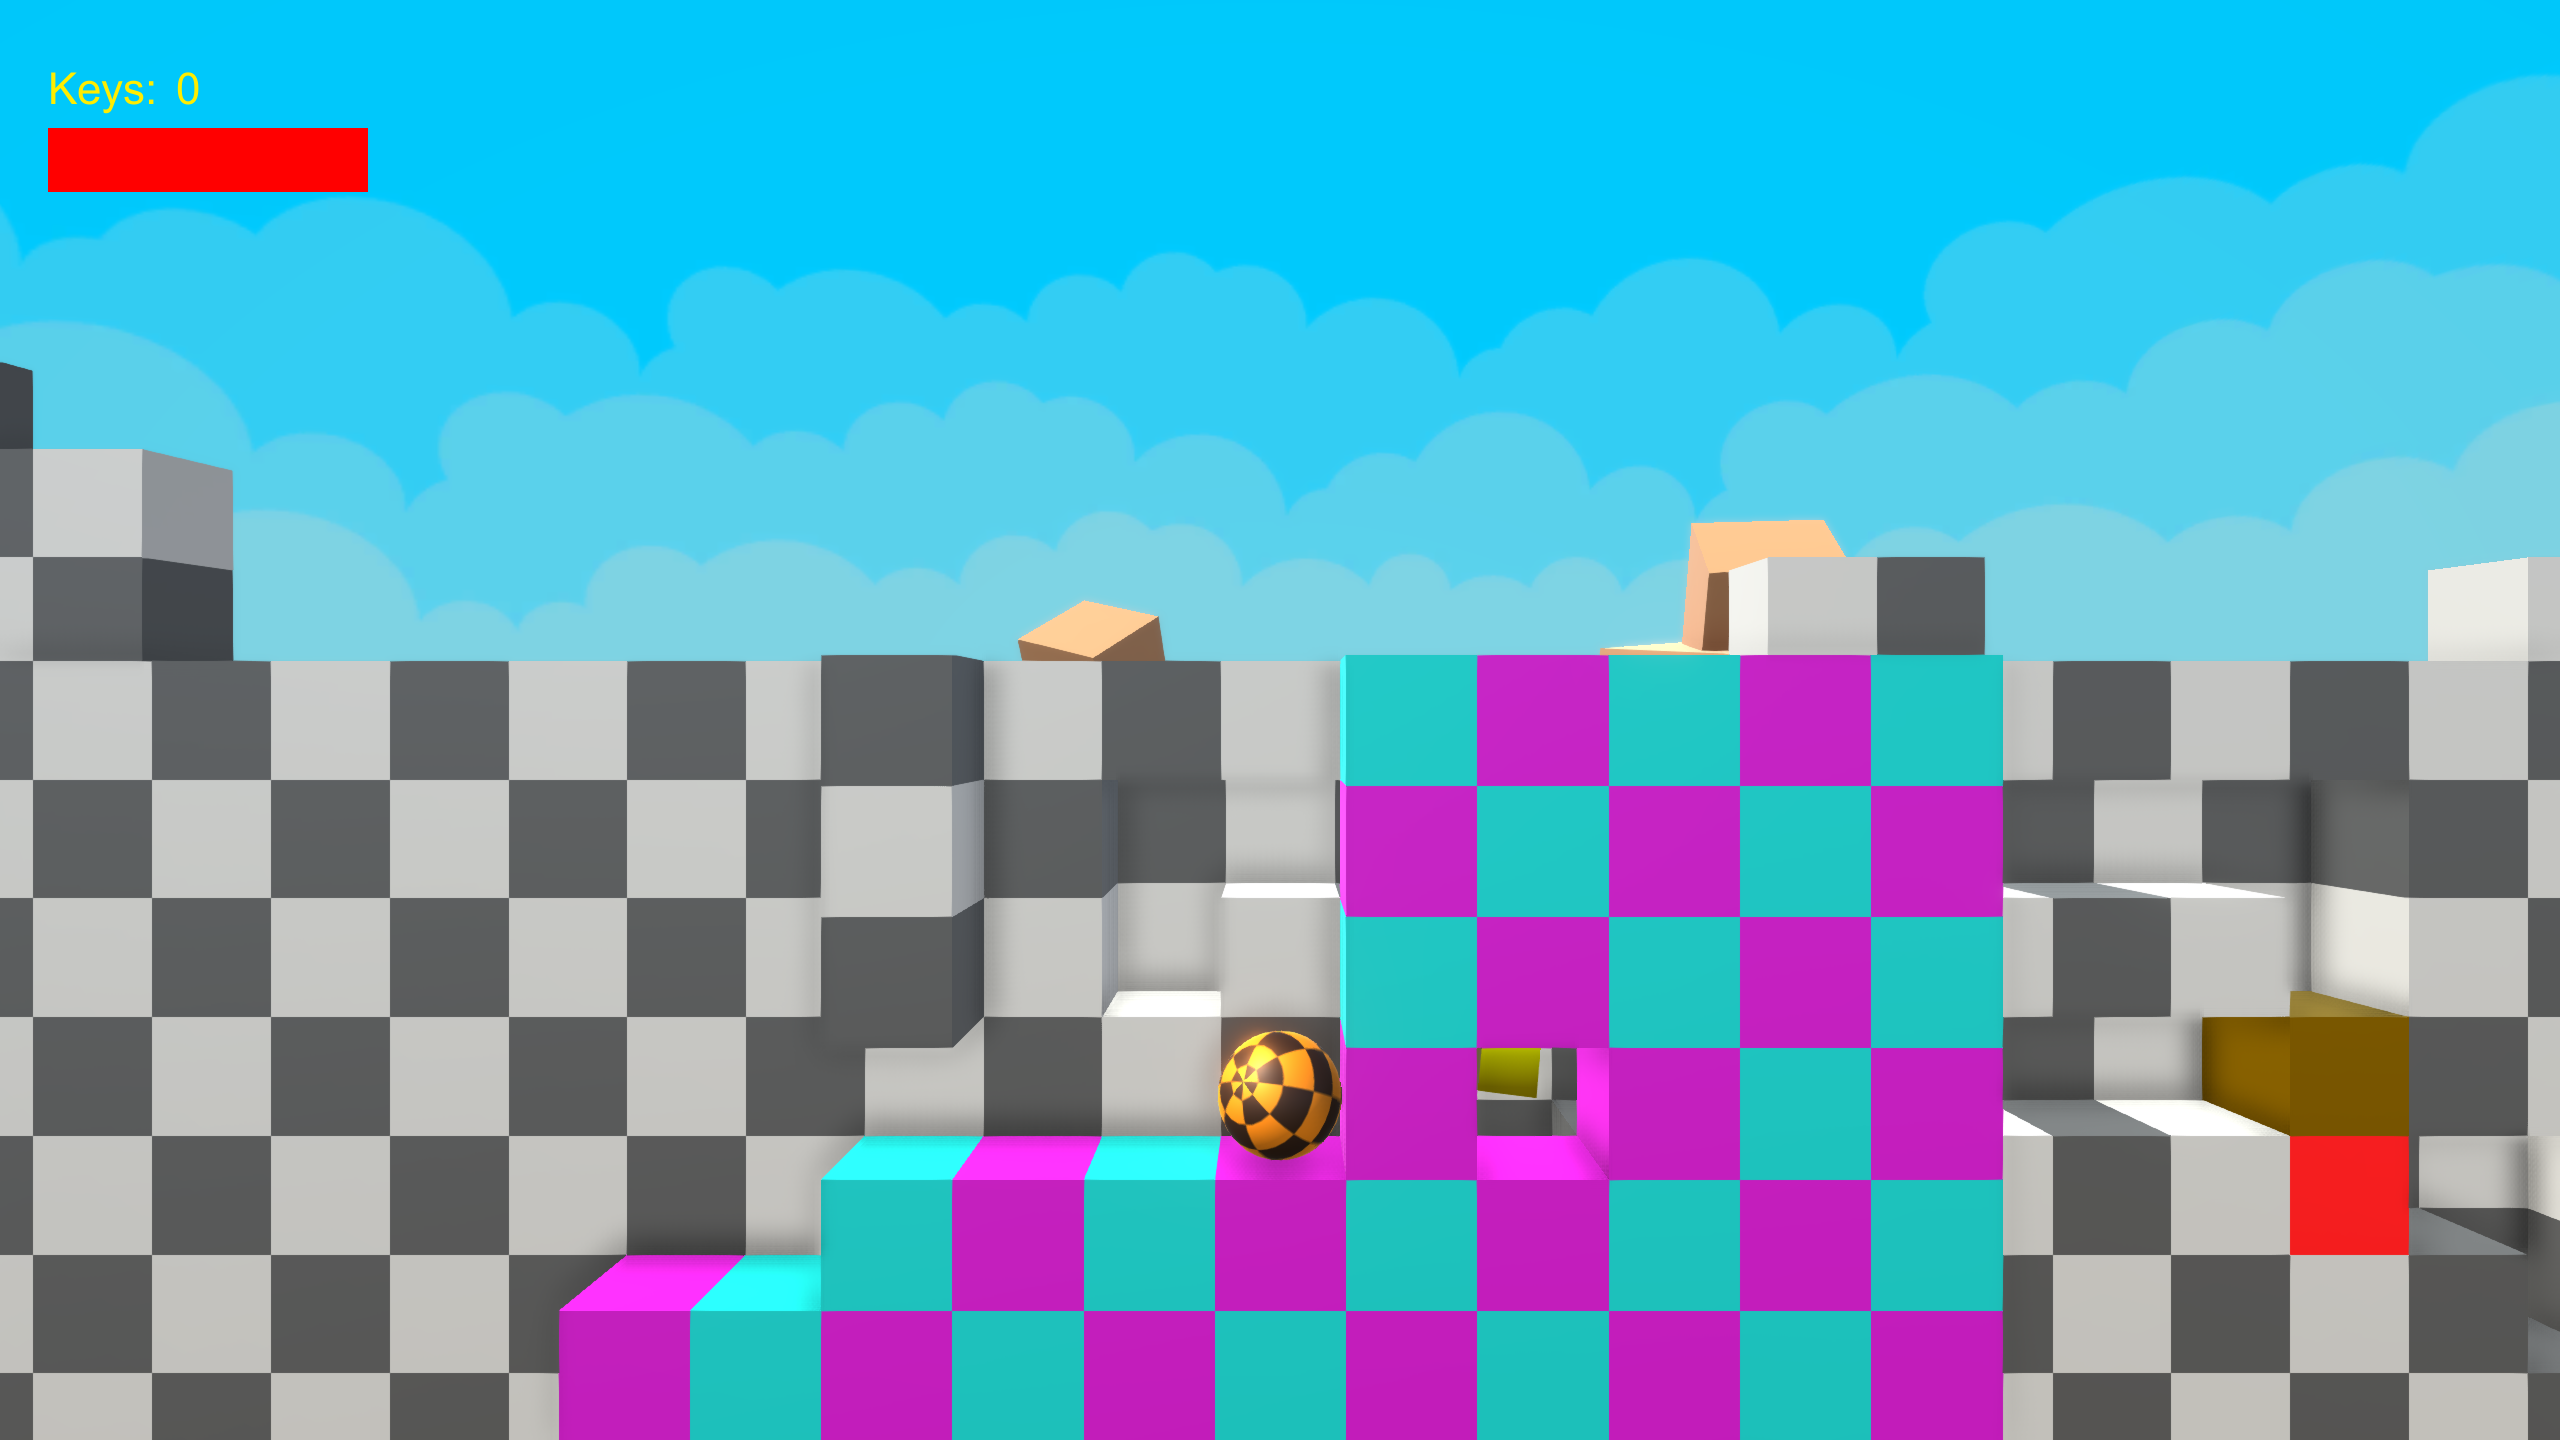
Like in Metroid you can transform into a ball. As the ball, you can always move in all directions. I used this to design some puzzles in the background to add even more depth.
All movements in the game are done by using physics.
Specifications
Platform: PC
Engine: Unity 2018.1
Development Time: 4 weeks
Team: 1 Designer
Year: 2018
Post-mortem
During this short individual project, I gained experience on how to procedurally generate content. I learned about fractal- and Perlin noise and how to interpret that data for generating landscapes. I also learned how to script custom editors in Unity for making tools, for making it easier and more efficient to build levels.
Procedural Generation
Fractal Noise
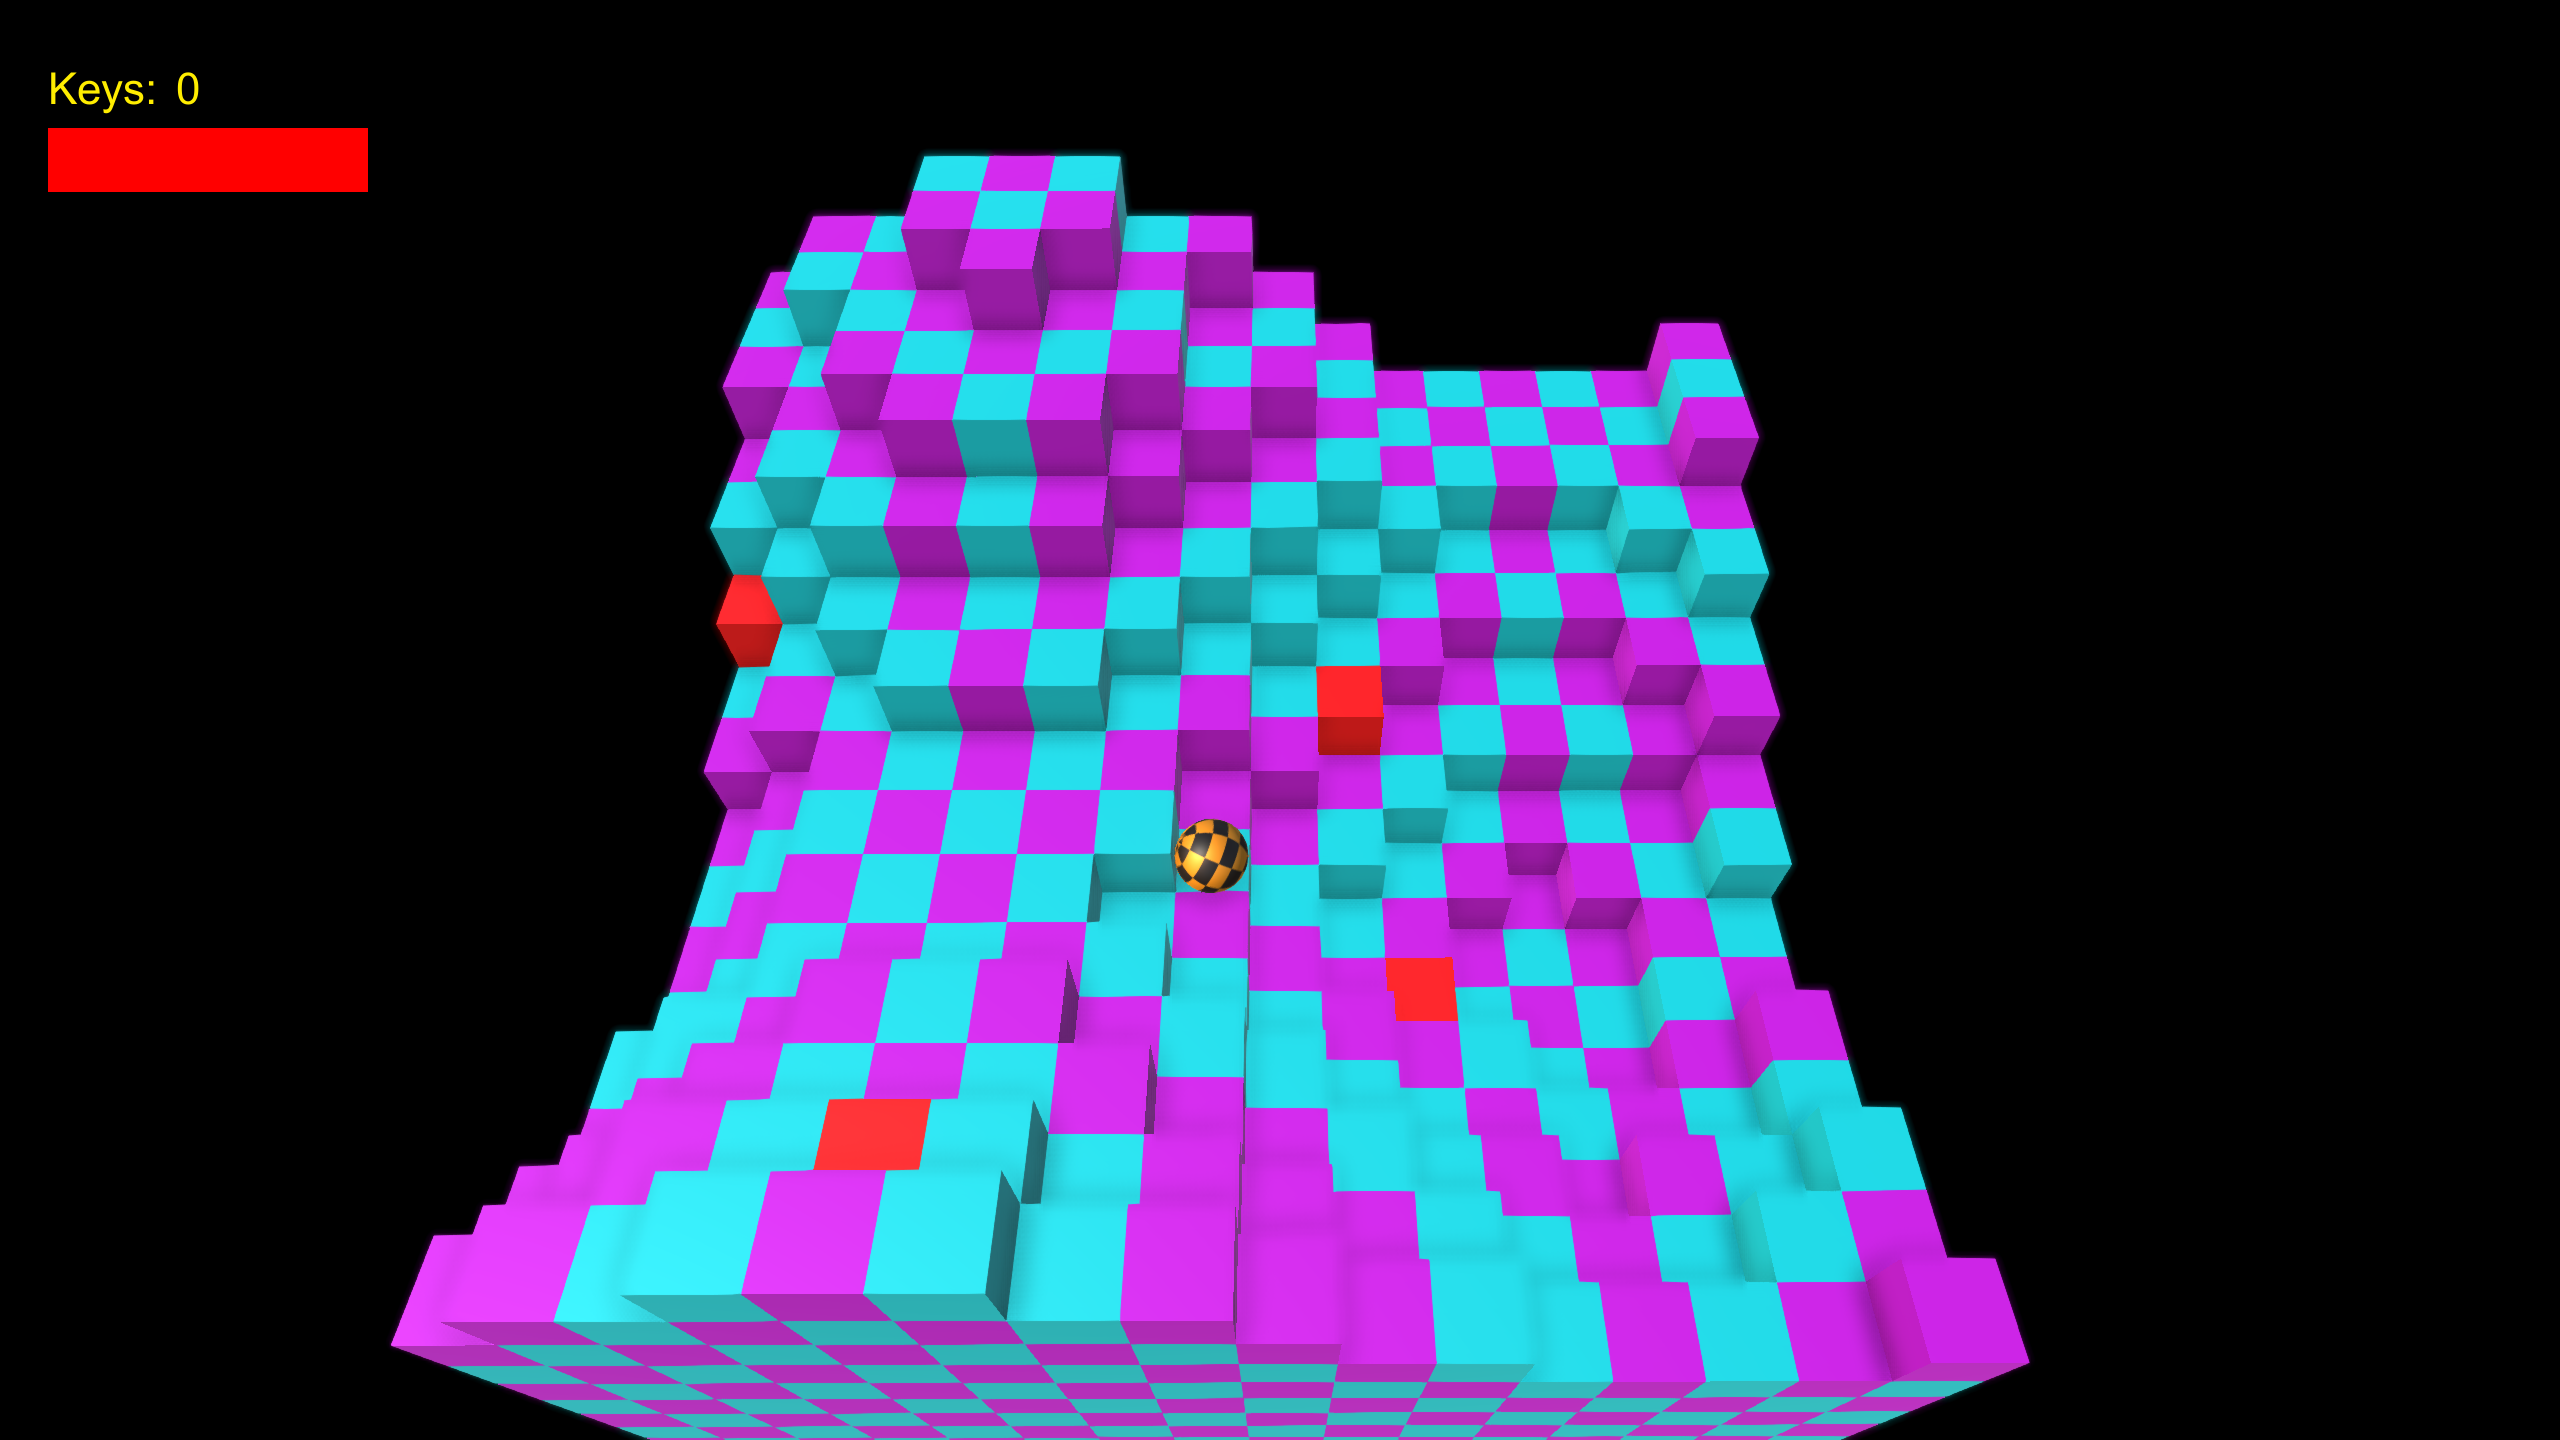
In the game, there is a room which is procedurally generated. Which means that it’s not designed but generated from an algorithm. I implemented fractal noise for this. Fractal noise uses Perlin noise in the background.
Unity has a built-in method for generating Perlin noise, it takes two parameters an x- and a y-coordinate and returns the noise value from a 2D plane for that coordinate. The pattern of the 2D plane resembles a landscape with peaks and valleys.
For implementing fractal noise you need to define: octaves, lacunarity, gain, and scale. Octaves is the number of times the algorithm should loop, and for each loop, it will make the result finer in detail. Lacunarity means “gap”, the higher the value the more and larger gaps will be generated in the landscape. For each octave, the frequency is multiplied by the lacunarity. Gain is a multiplier and it’s used for increasing the amplitude each octave.
For calculating the x- and z-value for the current octave they are respectively multiplied by the frequency and the scale. The scale is merely there for uniformly increasing the distance between the coordinates.
The variable “fractalNoise” will keep track of the result. For each octave, it’s increased by getting the Perlin noise for x and z and multiply it by the amplitude. Finally, when all octaves have run we have our final accumulated noise value.
|
1 2 3 4 5 6 7 8 9 10 11 12 13 14 15 16 17 18 19 20 |
public float GetFractalNoise(float x, float z) { float fractalNoise = 0; float frequency = 1; float amplitude = 1; for (int i = 0; i < _octaves; i++) { float xVal = x * frequency * _perlinScale; float zVal = z * frequency * _perlinScale; fractalNoise += amplitude * GetPerlinNoise(xVal, zVal); frequency *= _lacunarity; amplitude *= _gain; } return fractalNoise; } |
Generating the Landscape
I made a script “ProceduralGrid” which contains the logic for generating the room. It has inspector variables for how wide the grid should be in both x and z, and how large the cells should be, and all the parameters explained above for generating fractal noise. I also made a custom editor for this script which draws an extra button in the editor. So, when changing inspector variables for the noise the room can easily be regenerated directly in the editor by hitting the button.
The script has a method “GenerateGrid” which handles everything for generating the grid. Everything that gets generated is added as children to this object. To start with I destroy all old instances before generating the new ones.
Apart from generating the grid it also instantiates 4 breakable red cubes. For this, I created a separate class “BreakableCoordinate” which has 3 fields: “x”, “y”, and “hasKey”. I wrote a subroutine for randomizing the coordinates. For distributing them more evenly across the grid I randomize each of them in a separate quadrant of the grid. Finally, one of the cubes will get a key. Later, when the player destroys the cube that contains the key it will appear in the world. The coordinates are stored in a list “_randomBreakableCoordinates”.
|
1 2 3 4 5 6 7 8 9 10 11 12 13 14 |
private void InitializeRandomBreakableCoordinates() { var numCellsXOver2 = numCellsX / 2; var numCellsZOver2 = numCellsZ / 2; _randomBreakableCoordinates[0] = new BreakableCoordinate(Random.Range(0, numCellsXOver2), Random.Range(0, numCellsZOver2), false); _randomBreakableCoordinates[1] = new BreakableCoordinate(Random.Range(numCellsXOver2, numCellsXOver2 * 2), Random.Range(0, numCellsZOver2), false); _randomBreakableCoordinates[2] = new BreakableCoordinate(Random.Range(0, numCellsXOver2), Random.Range(numCellsZOver2, numCellsZOver2 * 2), false); _randomBreakableCoordinates[3] = new BreakableCoordinate(Random.Range(numCellsXOver2, numCellsXOver2 * 2), Random.Range(numCellsZOver2, numCellsZOver2 * 2), false); var keyIndex = Random.Range(0, 4); _randomBreakableCoordinates[keyIndex].hasKey = true; } |
I loop through each coordinate given by the x- and z-value from the inspector variables and get the respective fractal noise for each coordinate. The fractal noise determines the height of a coordinate.
Now it’s time to generate the actual cubes, this is done in another loop. Starting from -10, cubes are stacked on top of each other up to the height returned from the fractal noise. The last cube on top is generated later.
|
1 2 3 4 5 6 7 8 9 10 11 12 13 14 15 16 17 18 19 20 21 22 23 |
_xStartPosition = transform.position.x - (cellSize * numCellsX / 2f) + (cellSize / 2f); _zStartPosition = transform.position.z - (cellSize * numCellsZ / 2f) + (cellSize / 2f); var xPosition = _xStartPosition; var zPosition = _zStartPosition; NoiseGenerator noise = new NoiseGenerator(octaves, lacunarity, gain, perlinScale); for (var x = 0; x < numCellsX; x++) { for (var z = 0; z < numCellsZ; z++) { var xx = ((float)x / numCellsX); var zz = ((float)z / numCellsZ); _height = Mathf.Ceil(noise.GetFractalNoise(xx, zz) * 10); for (var y = -10; y < _height; y++) { _instance = InstantiateCube(instancePrefab, new Vector3(xPosition, y * cellSize, zPosition)); _instanceMeshRenderer = _instance.GetComponent(); _instanceMeshRenderer.material = GetMaterial(x, z, y); } |
After this, a check is made if the current coordinate is a breakable red cube. This is done by comparing the current coordinate with one from the coordinates stored earlier in the list “_randomBreakableCoordinates” If so, a red cube gets instantiated. Otherwise, a regular cube gets instantiated.
|
1 2 3 4 5 6 7 8 9 10 11 12 13 14 15 16 17 18 19 20 21 22 23 24 25 26 |
var hasSpawnedBreakable = false; for (var i = 0; i < _randomBreakableCoordinates.Length; i++) { if (x == _randomBreakableCoordinates[i].x && z == _randomBreakableCoordinates[i].y) { var go = InstantiateCube(breakablePrefab, new Vector3(xPosition, _height * cellSize, zPosition)); var breakable = go.GetComponent(); if (breakable != null) { breakable.HasKey = _randomBreakableCoordinates[i].hasKey; } hasSpawnedBreakable = true; break; } } if (!hasSpawnedBreakable) { _instance = InstantiateCube(instancePrefab, new Vector3(xPosition, _height * cellSize, zPosition)); _instanceMeshRenderer = _instance.GetComponent(); _instanceMeshRenderer.material = GetMaterial(x, z, (int)_height); } |
When the loop ends and cubes have been generated for every coordinate, colliders are instantiated at the bounds of the grid, this is to ensure that the player can’t fall off the grid.
Tools for Level Building
I made some editor tools for making it easier to build and alter the level. First I made a base class called “BuilderBase”. It has two attributes. The first ExecuteInEditMode makes the script run in the editor when changes are made to the inspector variables it will instantly update the object. The second attribute SelectionBase does so that the object this script is attached to will always be selected when clicking on this object or any of its children. This is useful because I instantiate children, but how these children are instantiated is only determined by the parent and there is no need for making modifications to themselves since they are generated.
The script has inspector variables for which prefab to instantiate, an even and odd material used for making a checkerboard pattern, and width, i.e. how many instances of the prefab that shall be instantiated. It also has some general methods that can be used for all classes deriving from this class. “DestroyAllInstances” gets all children to this object and destroys them. “GetDirection” looks if this object is facing in the x- or z-direction, it’s for determining if the instances should be generated in the x- or z-direction. All the fields and methods are marked as protected, which means that they will be accessible for child classes.
Tile Builder
In total I made three builders deriving from the base class. The “Tunnel Builder”, which builds secret tunnels, when the player goes into the tunnel the meshes for it will fade out and become semi-transparent. The “Wall Jump Strip Builder”. The “Tile Builder”, which I will go into more detail below.
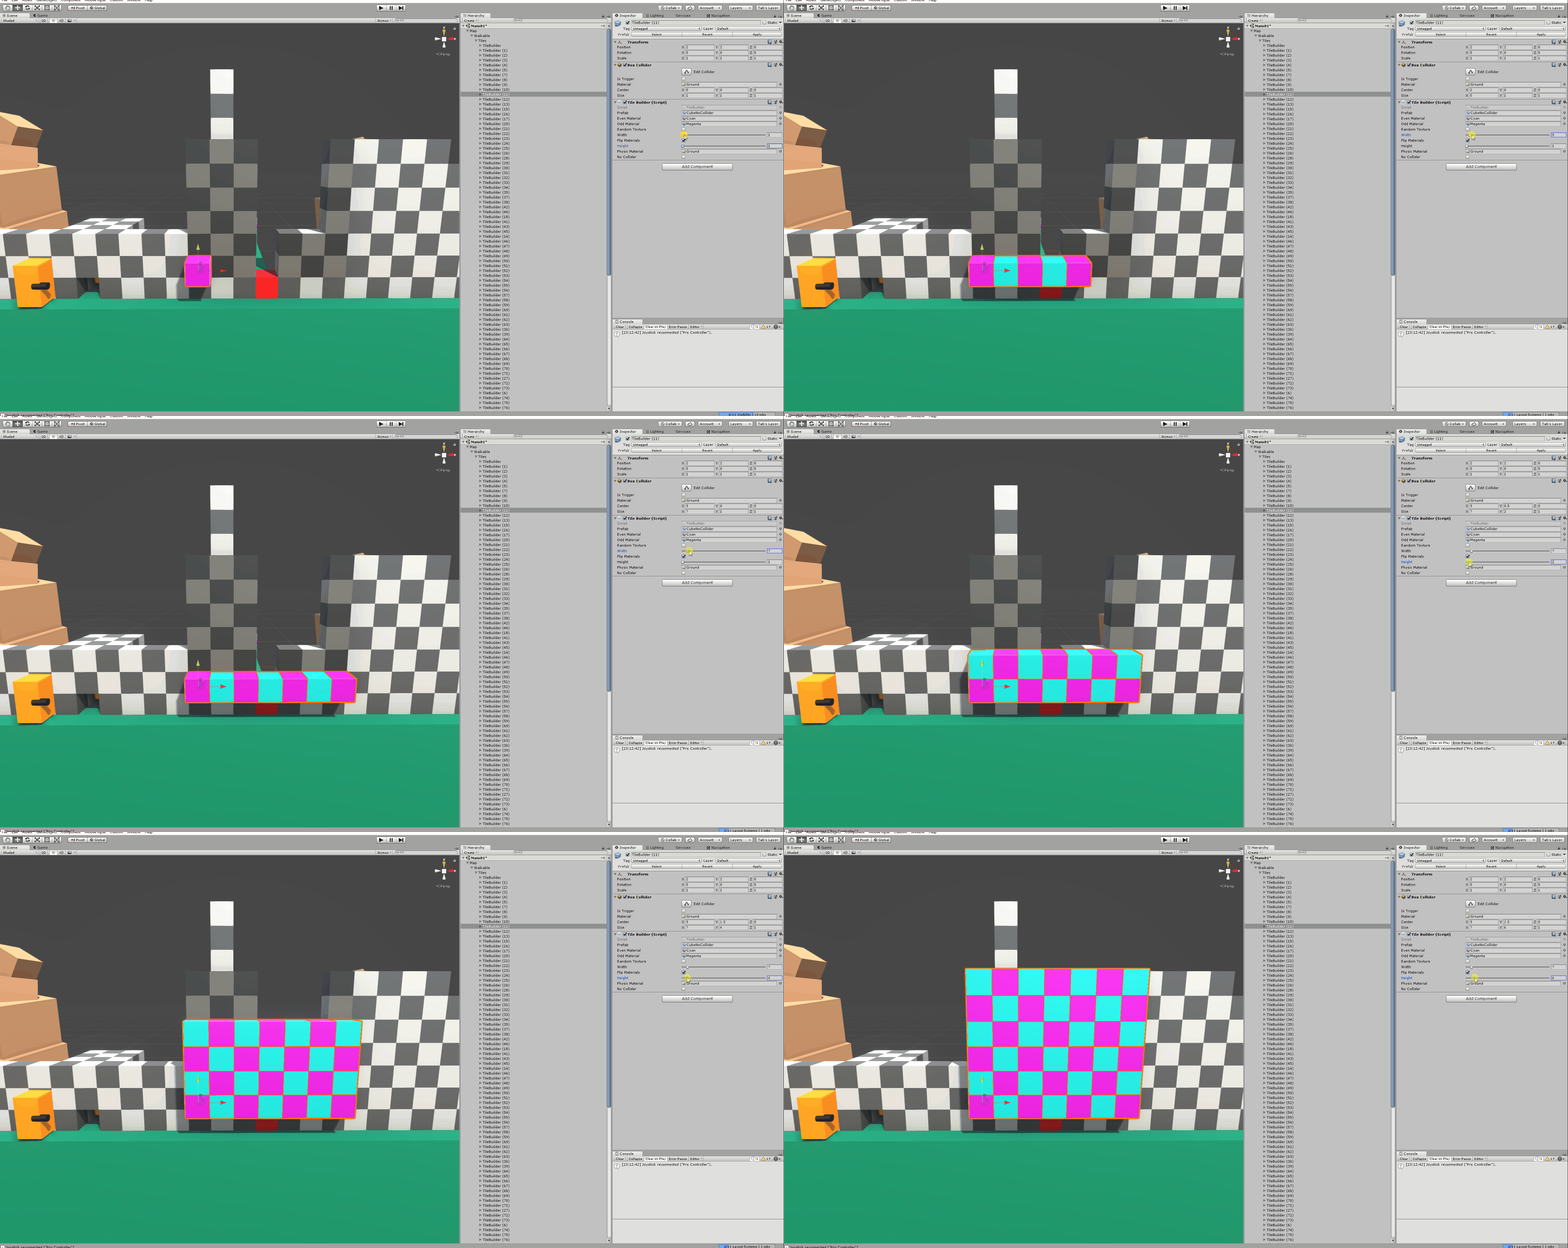
The “Tile Builder” generates the cubes that the player walks on, it has some additional inspector variables for height, physics material, and a boolean for generating colliders or not. The height is there for generating cubes in two dimensions. A PhysicMaterial in Unity is used on colliders for specifying its friction and bounciness. For the cubes, I use zero friction so that the player can move smoothly and don’t get stuck on walls and collider seams. I still had some problems with the player getting stuck on seams but I found out that Unity has another setting called Default Contact Offset, when changing this value to a lower one the colliders will glue more together, and the problem was solved.
In the Update method I have a condition that checks if the width or height has changed, and only if one of them has changed the code for generating the cubes will run. The first things that are done if so, is to execute “DestroyAllInstances” and “InitializeMaterials” from the base class. After that, a check is made if a collider should be calculated or not.
|
1 2 3 4 5 6 7 8 9 10 11 12 13 14 15 16 17 18 19 |
void Update() { if (width != _oldWidth || height != _oldHeight) { DestroyAllInstances(); InitializeMaterials(); if (noCollider) { _collider.enabled = false; } else { _collider.enabled = true; InitializeCollider(width, width / 2f - 0.5f, height, height / 2f - 0.5f); } _collider.material = physicMaterial; |
Next, I have two loops that loop through the height and the width specified. In the loop body I instantiate the cube prefab at the position calculated, and depending on which index we’re on it will get the even or odd material. After going through the height and width I store them in “_oldHeight”, and “_oldWidth” respectively, which are used for the condition explained above. Creating these builders was worth the time since it improved the speed I could design and alter the level greatly. Also, having the base class made it easy for implementing new builders.
|
1 2 3 4 5 6 7 8 9 10 11 12 13 14 15 16 17 18 19 20 21 |
for (var y = 0; y < height; y++) { for (var x = 0; x < width; x++) { _currentInstance = Instantiate(prefab, transform.position + GetDirection() * x + Vector3.up * y, transform.rotation, transform); _currentMeshRenderer = _currentInstance.GetComponent(); if (y % 2 == 0) { _currentMeshRenderer.material = (x % 2 == 0 ? _evenMaterial : _oddMaterial); } else { _currentMeshRenderer.material = (x % 2 == 0 ? _oddMaterial : _evenMaterial); } } } _oldWidth = width; _oldHeight = height; } |
Level Design
I had two things in mind when I did the level design. To give hints that the player will remember and traverse back to when receiving new upgrades, and “aha moments”, making the player feel smart when solving puzzles. I will write this section with the thoughts I had intended the player to think while playing the game.
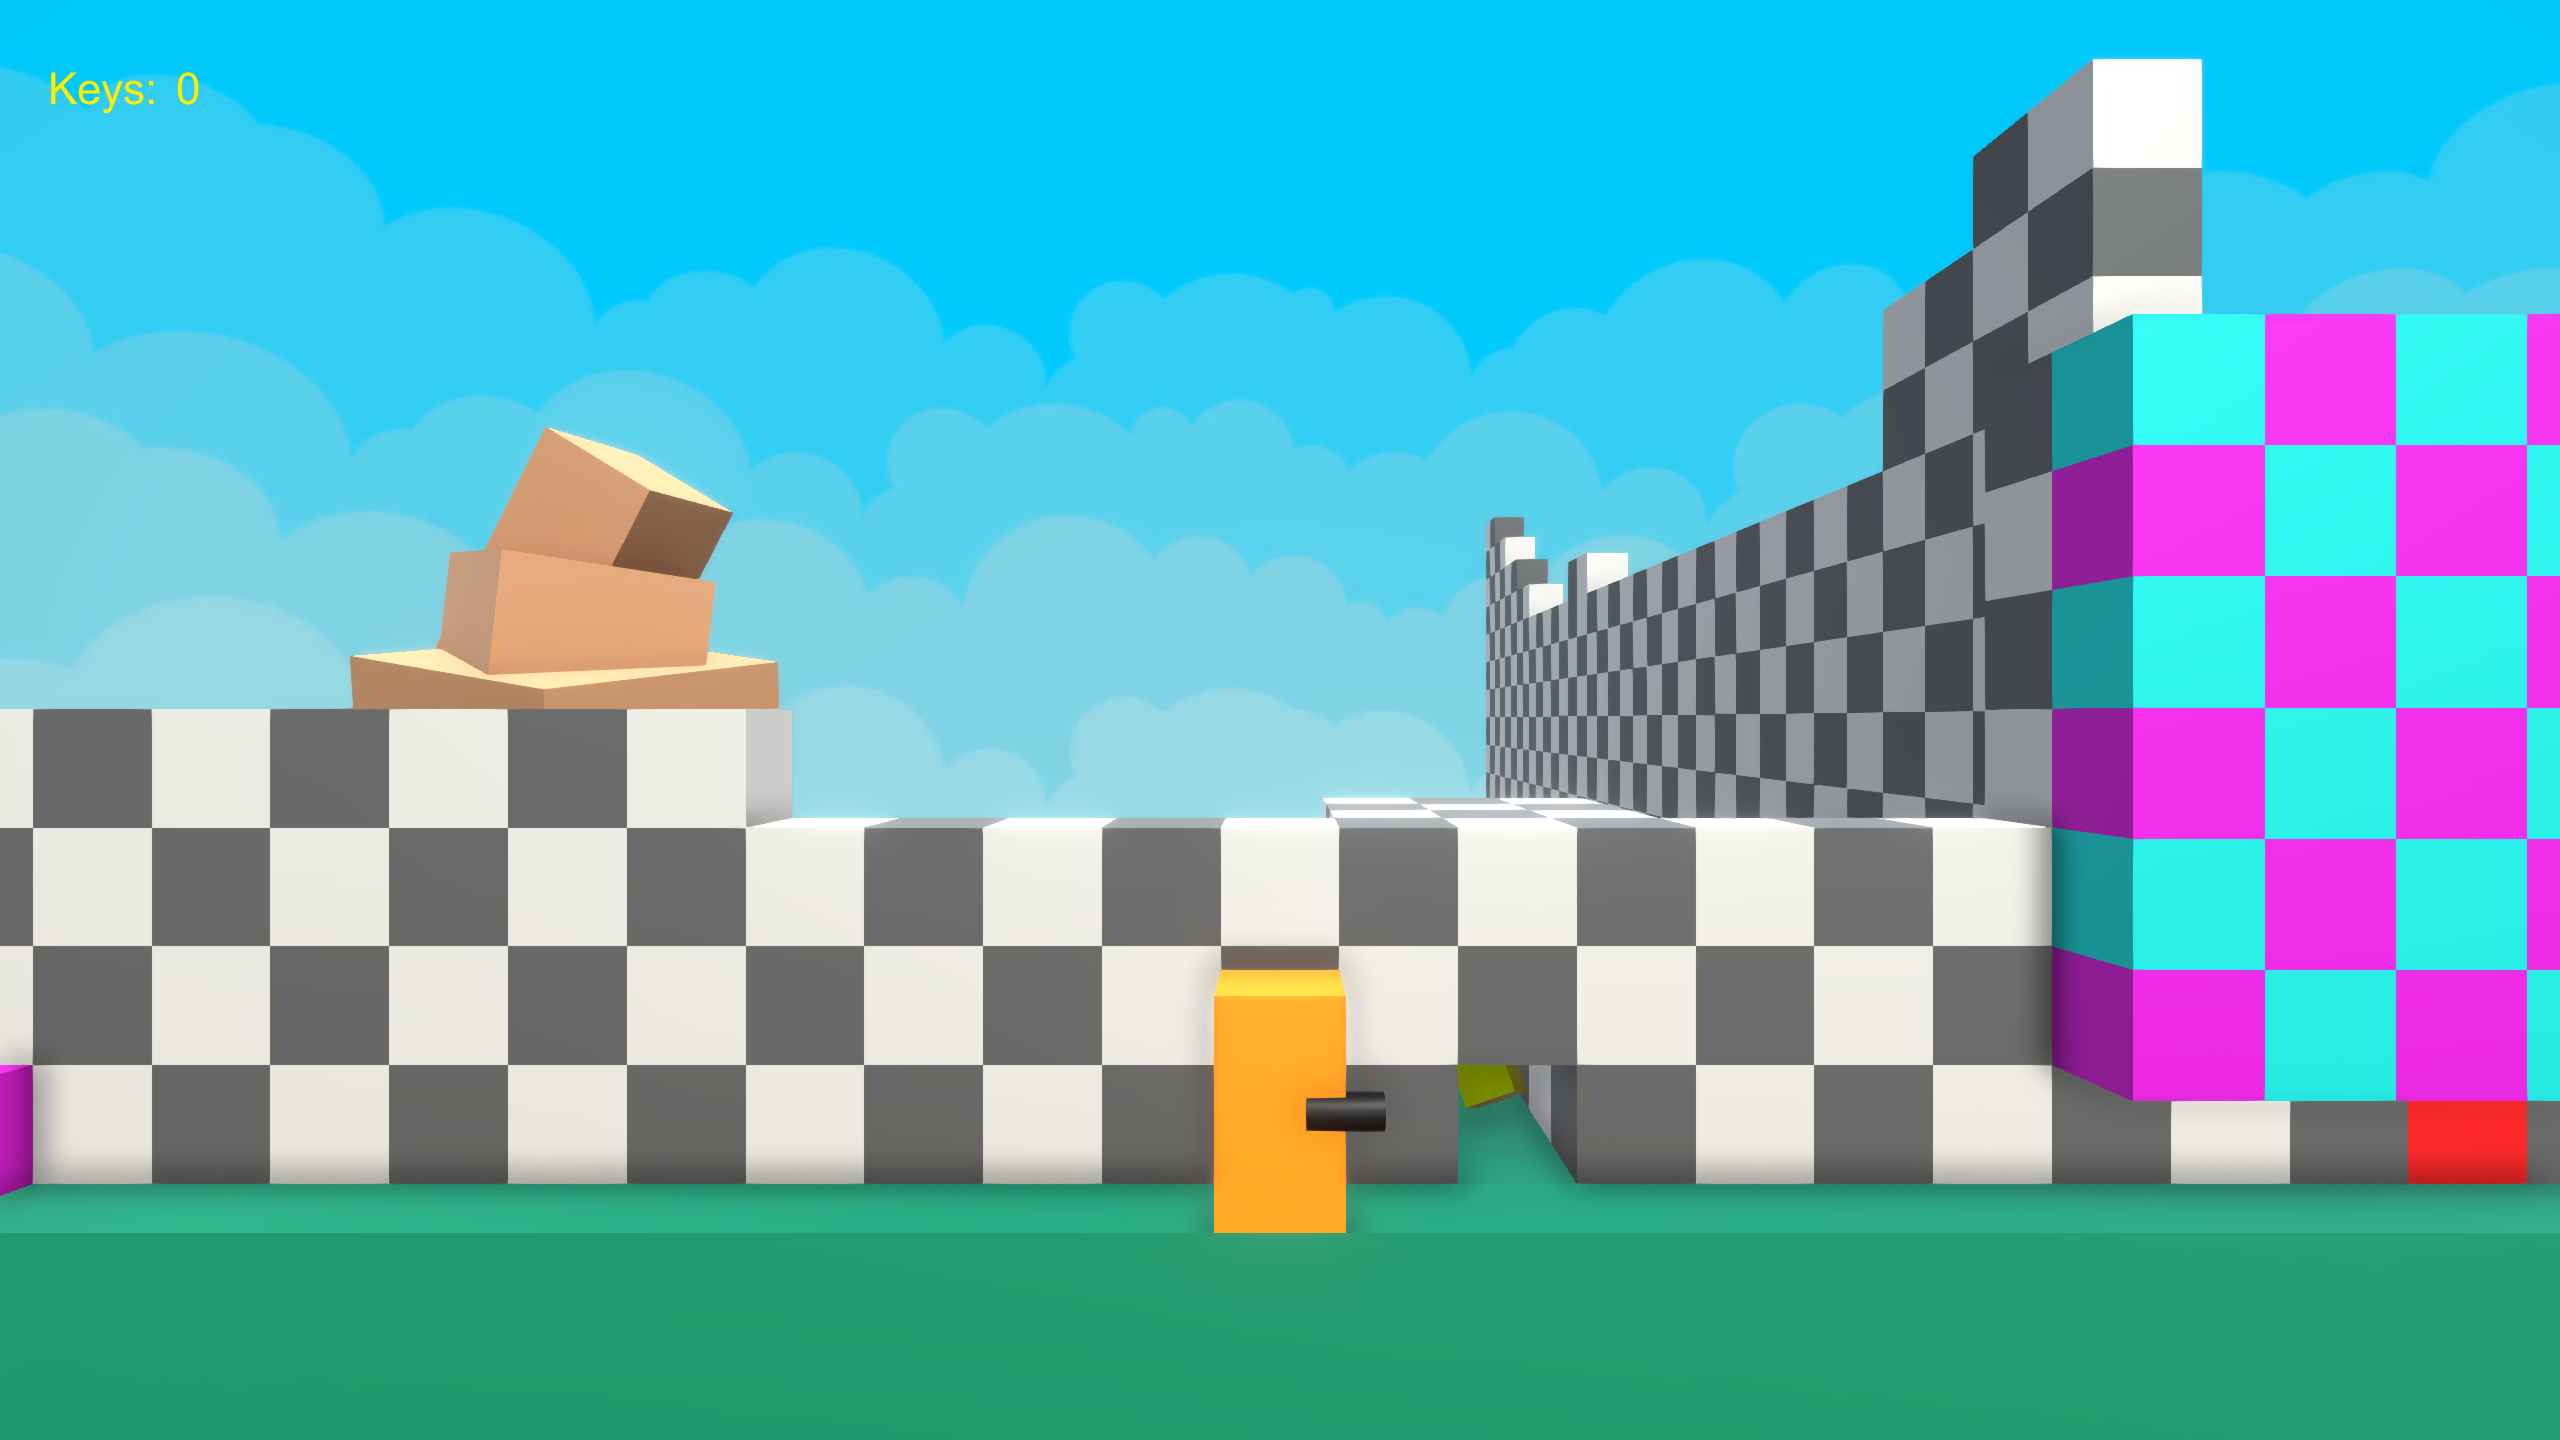
The game starts with a wall to the right where a tiny gap is at the bottom. There is also a tunnel in the background that has a shiny rotating cube in it.
“Okay, so I can’t go right, now what is that shiny cube in the background? I guess I’ll go left.”
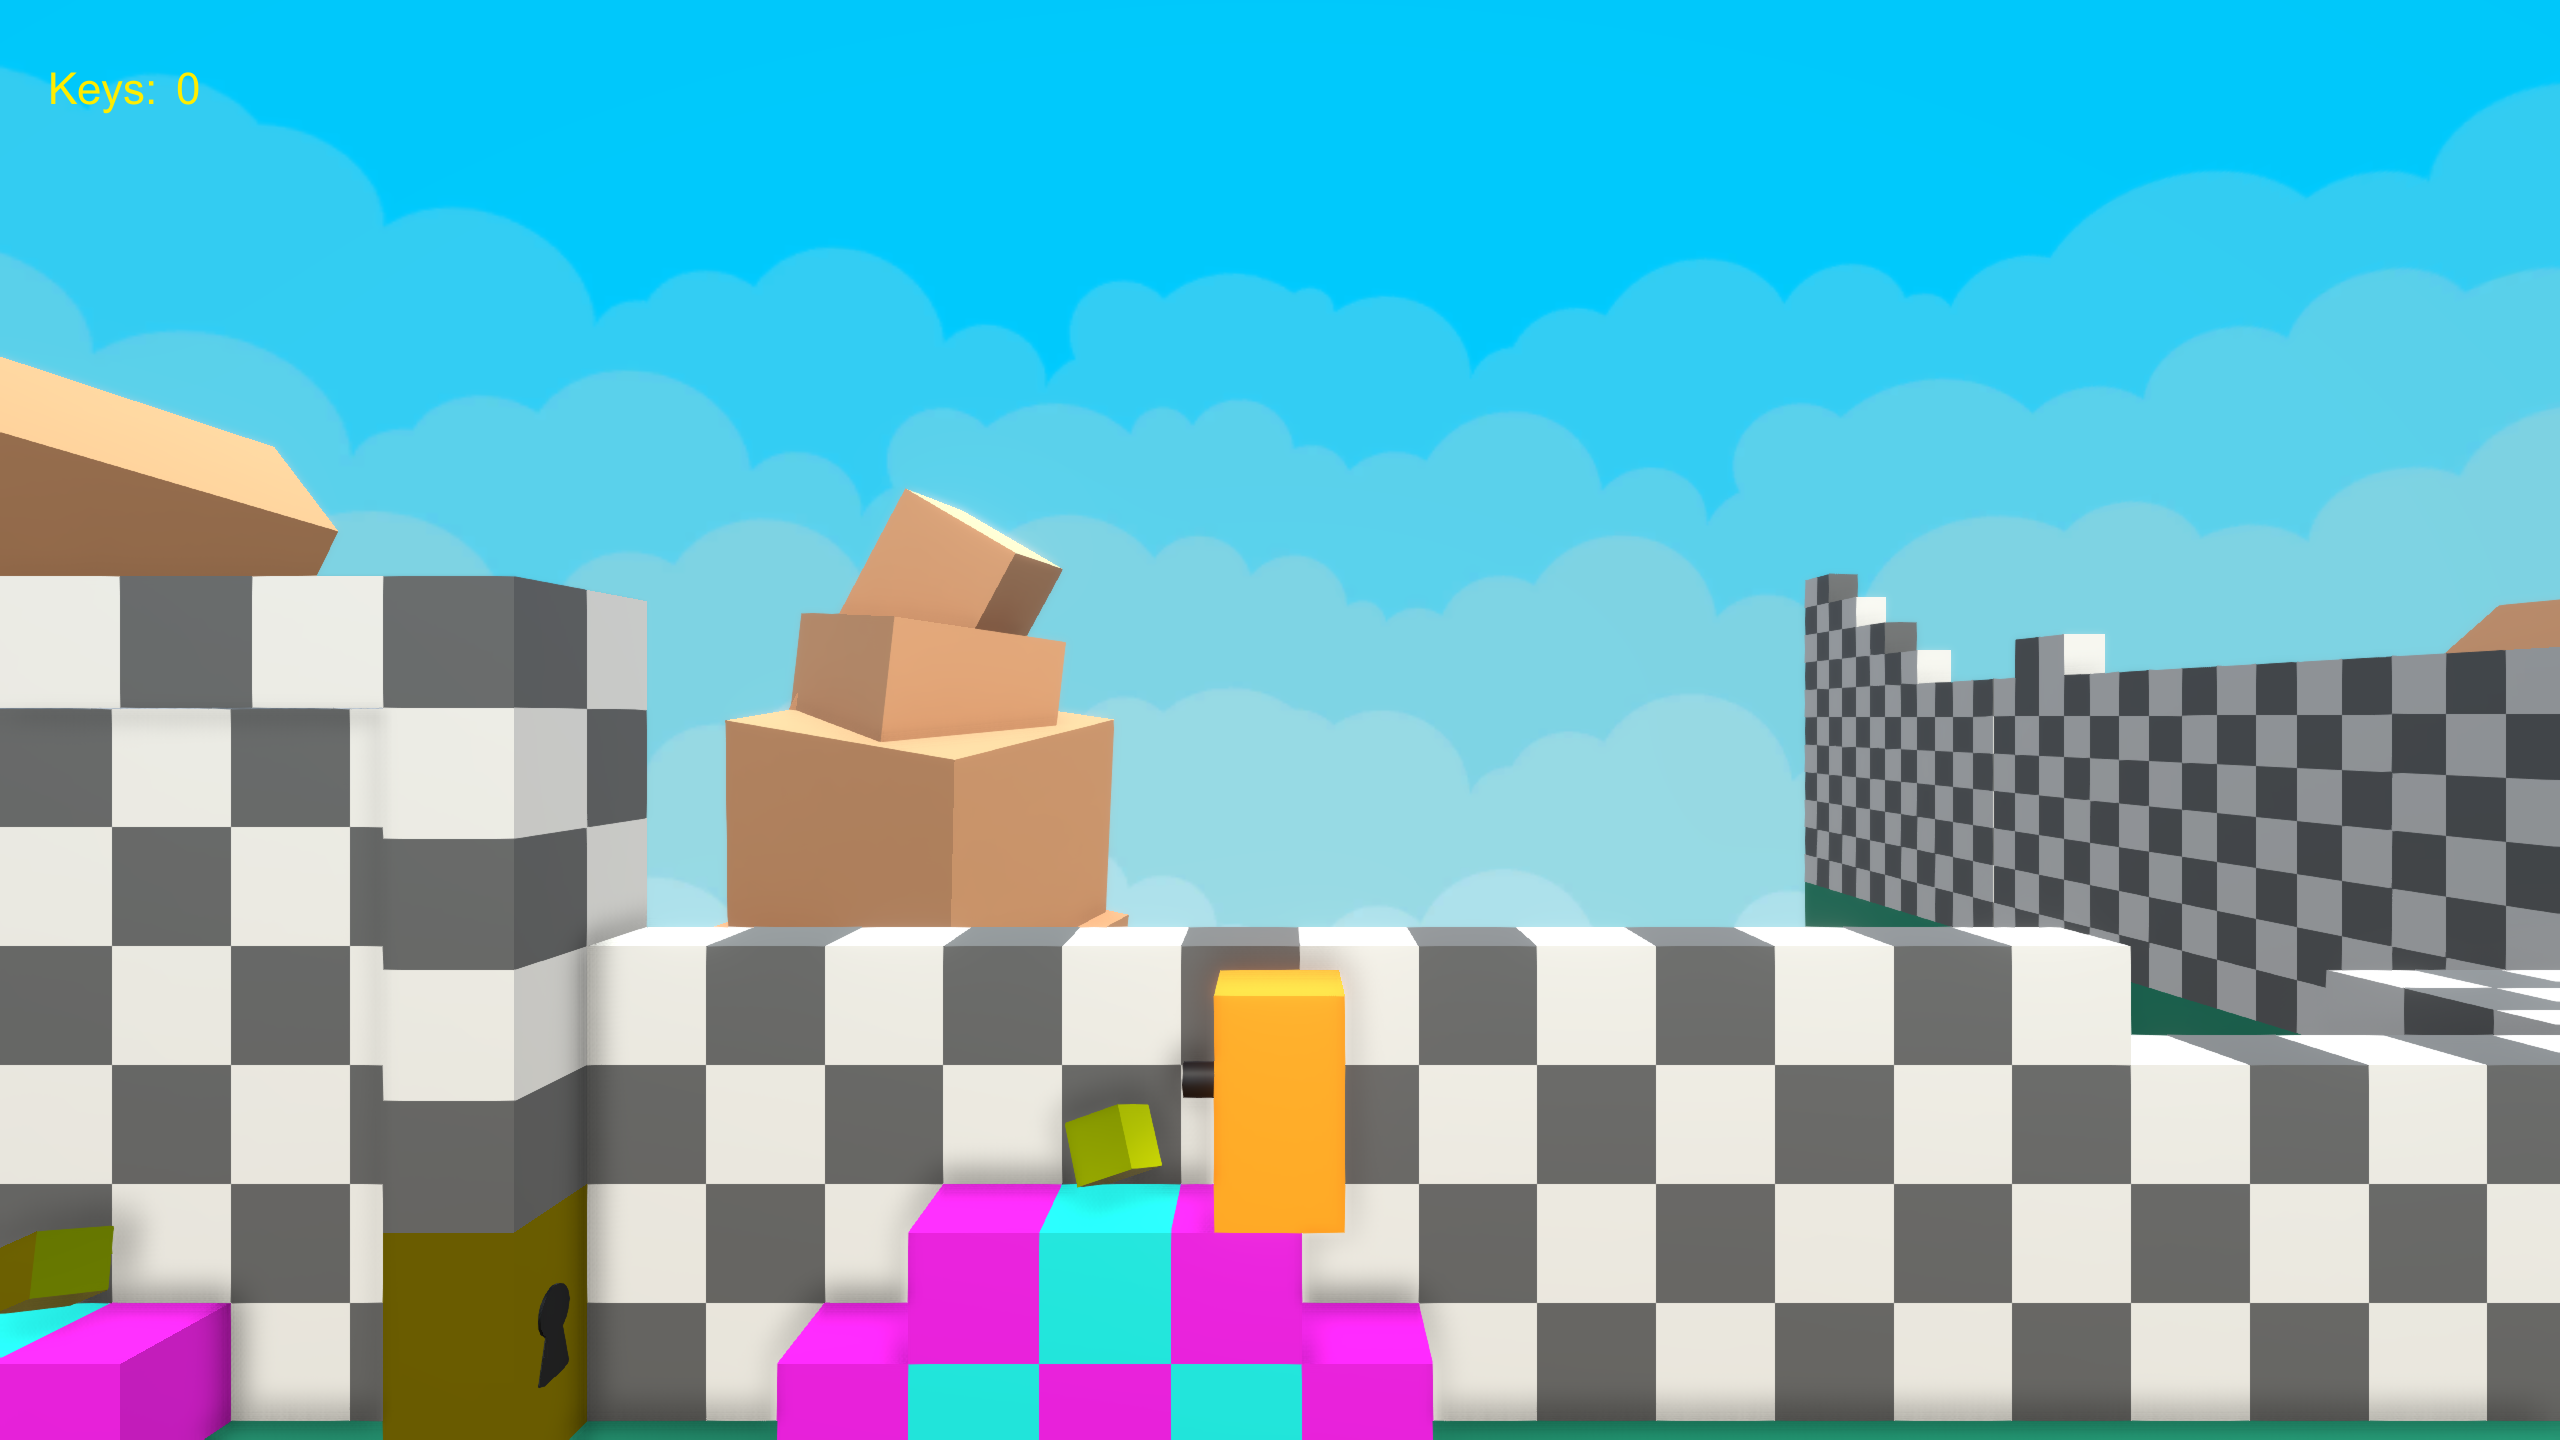
When going to the left another shiny cube gets visible, it’s in plain sight. When the player walks over it the player gets the ability to transform into a ball. There is also a door to the left with a keyhole and yet another shiny cube inside it.
“Oh, now I’m tinier and I can probably fit into those tunnels to the right! But, what’s that keyhole thingy? Maybe I’ll get a key later then I can come back here!”
Now the player knows that the shiny cubes indeed are powerups, and as the player thinks, two new paths have opened up. One of them is optional, but not a long detour, and contains the boost ball powerup.
“Oh cool, now I can boost when I’m a ball! Let’s try it in this tunnel to the right. Hold on, one of the blocks in the background here is red… what does that mean?”
Going forward, another red block is seen. The player can’t continue from here without exiting the ball mode. Jumping up over some cubes another level gets visible in the background.
“Wait, what? Is there some connection between that red cube and that area in the background? Maybe the red cube can be destroyed somehow?”
Eventually, the player will arrive at an edge and what looks like a chasm. I intentionally put a cube on a lower level here so that the player will dare to go down here. When the player falls down the player gets gated. The player can’t jump up again, and there are two red cubes blocking to the left and right. But there is another shiny cube reachable containing bombs.
“Hmm, I can’t jump back up again. But maybe I can destroy those red cubes with the bombs? Yes it worked! Now I can go back and destroy that red cube in the beginning! But wait, there are some weird objects hanging on the walls to the right. But I can’t seem to interact with them, maybe it will be obvious later…”
When the player breaks the red cube to the left a secret tunnel appears. After I had people playtesting the prototype I realized that they didn’t understand where to go here so I changed so the secret tunnel appears as soon as the player rolls into where the red cube was.
The player goes back to the red cube in the beginning and destroys it. When rolling through the hole the camera angle changes 90 degrees.
“Aha, I knew it!”
The next puzzle is a bit more complicated and makes use of multiple things you’ve learned so far. Now you know that you can break red cubes and that there are secret tunnels. It also introduces some new concepts like that you can use the bombs to reach unreachable areas and a brown cube that can’t be destroyed by bombs. Another shiny cube will be visible in a hole in the middle.
“Okay, so I see the powerup, but how do I get there?”
There is a trail in the background cubes that goes behind the regular cubes. On the other side is the brown cube resting above a red cube.
“Hmm, the path seems to be blocked here, what will happen to the brown cube if I destroy the red cube? I will have to try, but how do I even get there?”
There are two solutions to this puzzle. The easier one, since you are in the background layer you can actually just roll forward and land below the red cube. You can actually even set off a bomb just when falling by the red cube and it will get destroyed. When playtesting, I found that most players didn’t understand this, which is exactly how I wanted it to be. The more apparent solution is to go back the way you came from and find the secret tunnel at the bottom. When the red cube gets destroyed the brown cube falls down due to gravity.
“Oh, now the path is open! But, now I have to go around everything again! But I think I can get the powerup now.”
This can perhaps feel a bit frustrating, but now the player will probably know that the powerup is reachable. When you get the shiny cube you get the wall jump ability. This shiny cube is in the air so you’ll fall down immediately after acquiring it.
“Aha! Now I can jump up on those weird objects!”
The path back to the wall jump strip is pretty straightforward, now you can stay in ball mode and just boost through the tunnels and you will be there in a second. After wall jumping up, there is another camera angle switch. Here is a red cube above a chasm.
“Do I dare going down here? Guess I’ll try…”

